
HI V Gundam Head Desktop model WIP
May 04, 2016
I've already shown the snap-built kit in one of my posts before but I never really got to follow up any updates on the build so far since then. Anyway now that I have time, i'm going to do just that. Basically i'm trying to take this 1:30 head and detail it up as much as I please without following any kind of scheme. in simple terms make it look "cool"?

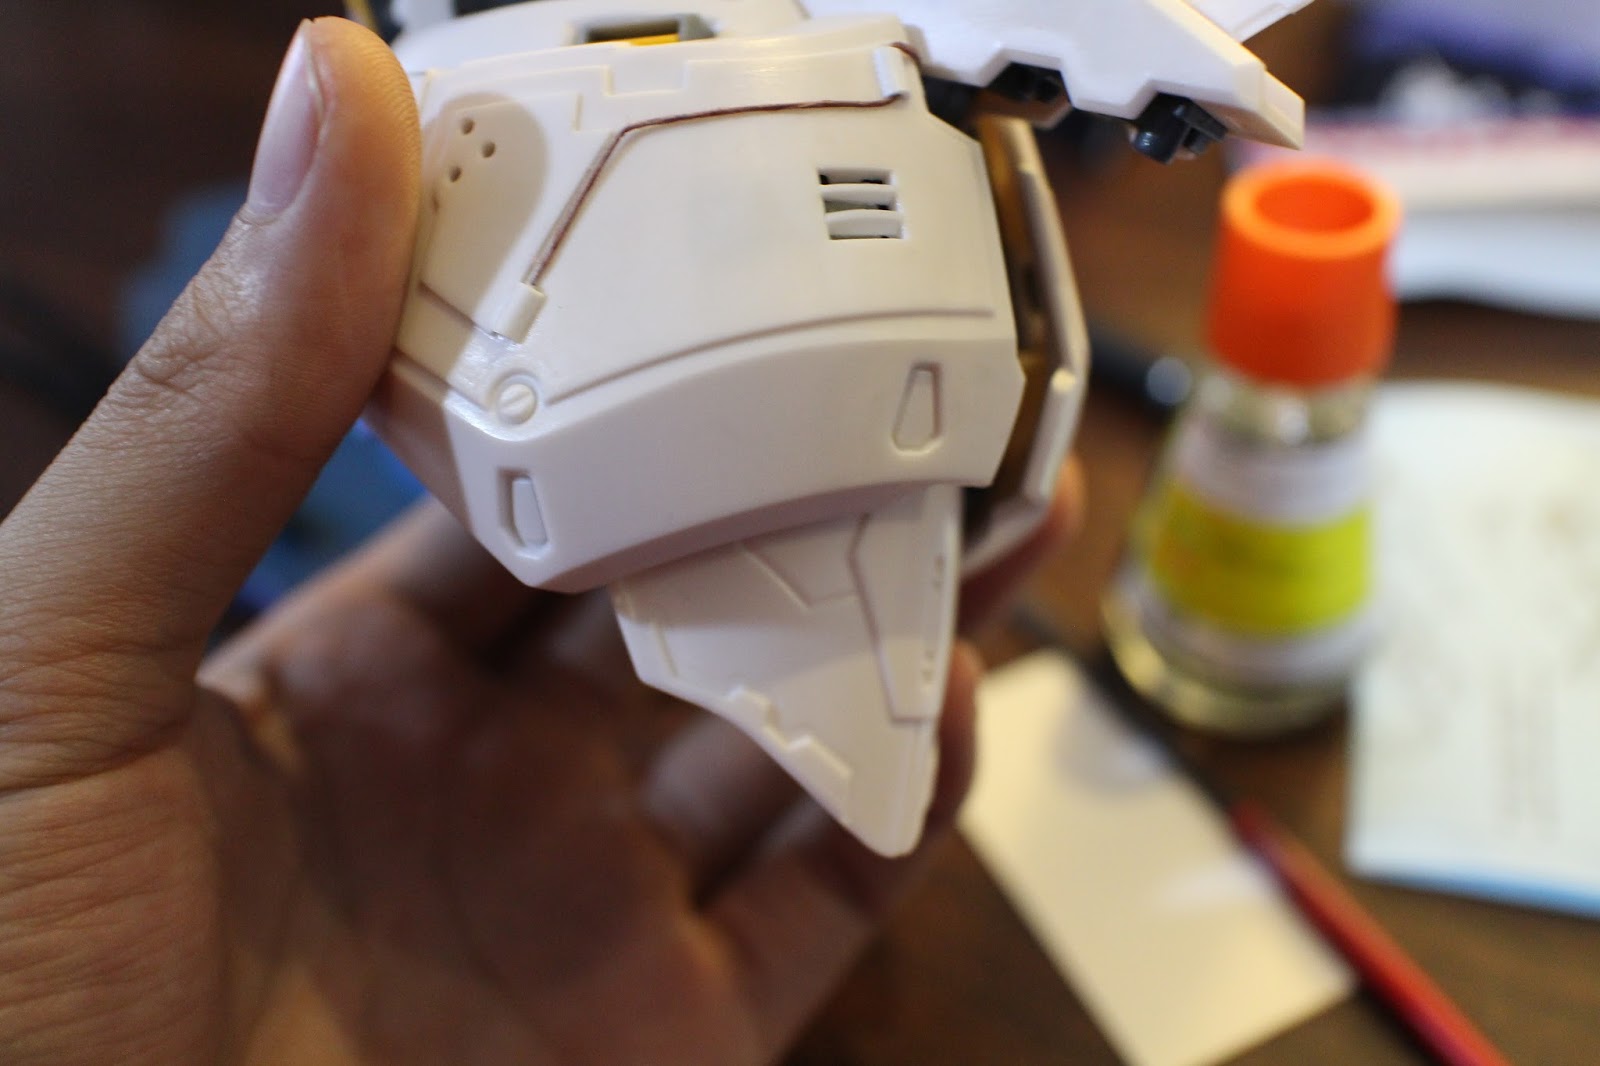
There are many areas in the kit that are plain, and the detail is flat like this areas over here.. as if there was something that was supposed to be moulded on but the designers got lazy. I started drilling holes in some areas for no particular reason but then decided to turn them into vents and detail some of them up with mesh like so.

The part above is by the backside of the Gundam's head and honestly that gaping hole bothers me too much, so I dealt with it as well.. later in the post.

This is the mesh I'll be using for some mods, it's tamiya's plastic mesh so applying it to a surface is easy with plastic cement. I put up a tutorial on this, If you want you can check it out over HERE.

Told you I'd deal with it. I just cut out small strips of pla plates to create a vent to cover up that hole, and I can say it does look a lot better.

More areas I worked the " Mesh Mod" on. This is one of my favorite mods since it can be used to show internals and also add extra flare to the kit.


There are plenty of warps throughout this model but I decided not to take a picture of all of them.

I modded the head vulcans as well because i just thought it lacked detail. The picture on the box showed a way better looking one and the give me this? Hell no. I'm making my own.


Chopped up some small plastic tubes which can also be bought in your local hobby stores and glued them together like so to form the nozzles of the head vulcans. I then sliced off the upper part of the part and attached my plastic mod instead.


I then added various plaplate detailing all around the head of the model. I also have a tutorial regarding this, you may check it out as well. OVER HERE


I'll just spare you all the talk from here onwards, I just plaplated the model all over and added some copper wires to add on extra detail as well as drilled holes.. yes the very simple yet elegant hole drilling technique hahaha makes your model look so BA.


And that concludes this WIP update, i'm still going to have to prime and seal a bunch of warps before I can move on again with this build, but i'll try to keep updating regarding this.
Till next time!
1 comments
Very good! This head is beautiful! Good luck with him!
ReplyDelete