
Sealing Seam Lines
February 13, 2016
What are seam lines? In model kits, these is the space between two parts when put together.
(mostly in the form of a line) It can be a sore to the eye if you're going for that "perfect" finish. But getting rid of it takes time, everything worthwhile does (oh damn.)
Now if you look below, you can see 2 pieces from my X-wing's lazer cannon. Most of the time it is parts like these that leave a seam line.

Spotted one right down the center. The goal here is to get rid of it without harming other details as much as possible if you can.

Extra thin plastic cement are made to for this task, I have two of this: Tamiya's and the one you can see below Mr.Hobby. I will be using Mr. hobby for this tutorial.

Start by prying open the gap a little more wider with the aid of my hobby blade, and by that I mean VERY VERY VERY little.


After you pry it open, try to squeeze it till you have a "hair strand" of space left, the closer the gap is the more effective the capillary action will work allowing the cement to flow completely thru the space.


I was able to squeeze it just enough to let the two parts come this close together.

That's when I apply the extra thin cement, and let it flow into the gap freely. You can see the cement flowing, and if it doesn't cover the seam completely you can always apply it on those areas just to make sure that you get the fluid into the entire gap.

I let the cement settle in there for about 20-30 seconds then I squeeze the two parts in together HARD.
Just put pressure on it till you see the melted plastic ooze out from between the two pieces. This shows that the cement is doing its work and filling the seam line in.


Apply another layer of cement on the line of "melted plastic" just to seal it in.

Allow the sealant to cure fully and dry before proceeding. You are free to sand off the excess plastic or use a hobby blade to slice it off.

I usually start off with the blade to remove the majority off the plastic before moving on with the sanding.

Carefully slice off the plastic without damaging any of the other detail on the parts.


Don't worry if the seams don't get fully removed, you may spot this once you begin priming. There are other ways to fix those minor issues.

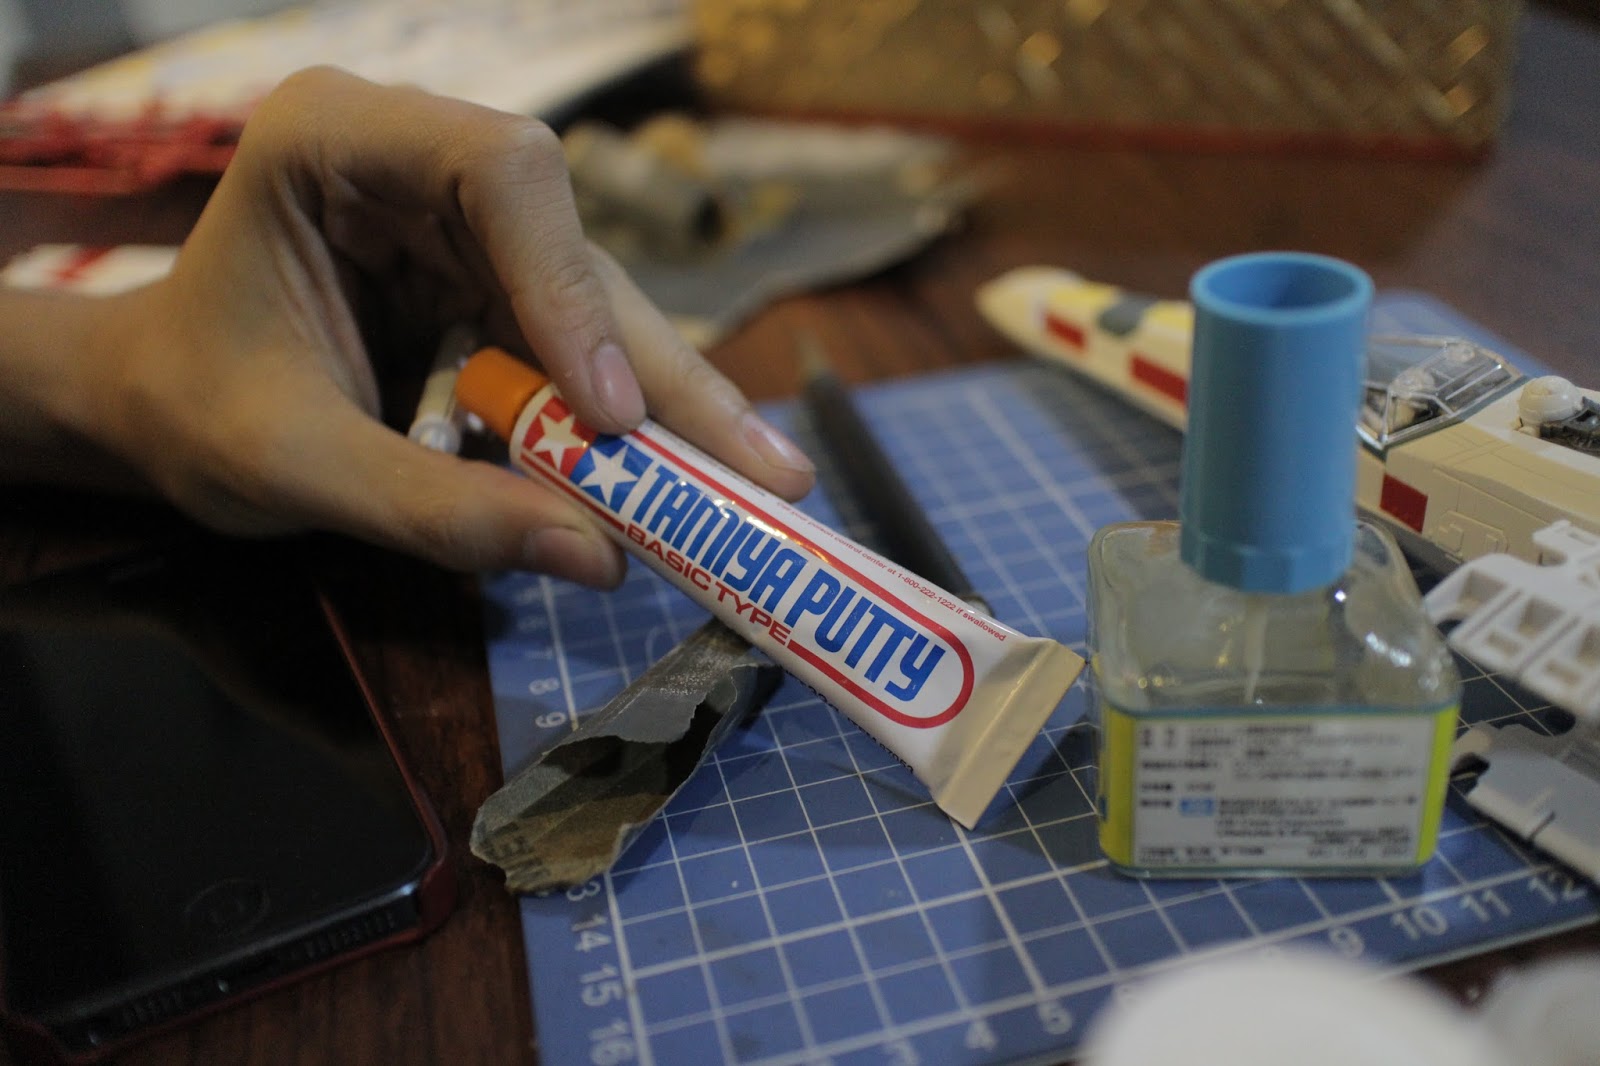
Putty for one is a great example. You can use this to fill in gaps as well and fix other issues with the plastic. I have other "How-to's" which tackles things that I dint feel like writing down here.
The techniques here may be able to assist you with sealing seam lines so I recommend that you check it out and learn a thing or two.
And that's one of the many ways to remove those nasty seam lines. Feel free to comment and give suggestions, and I will do my best to attend to these matters.
Till next time!
1 comments
nice website :)
ReplyDeletePlaygroup Singapore