
how to make a sanding block
August 07, 2013
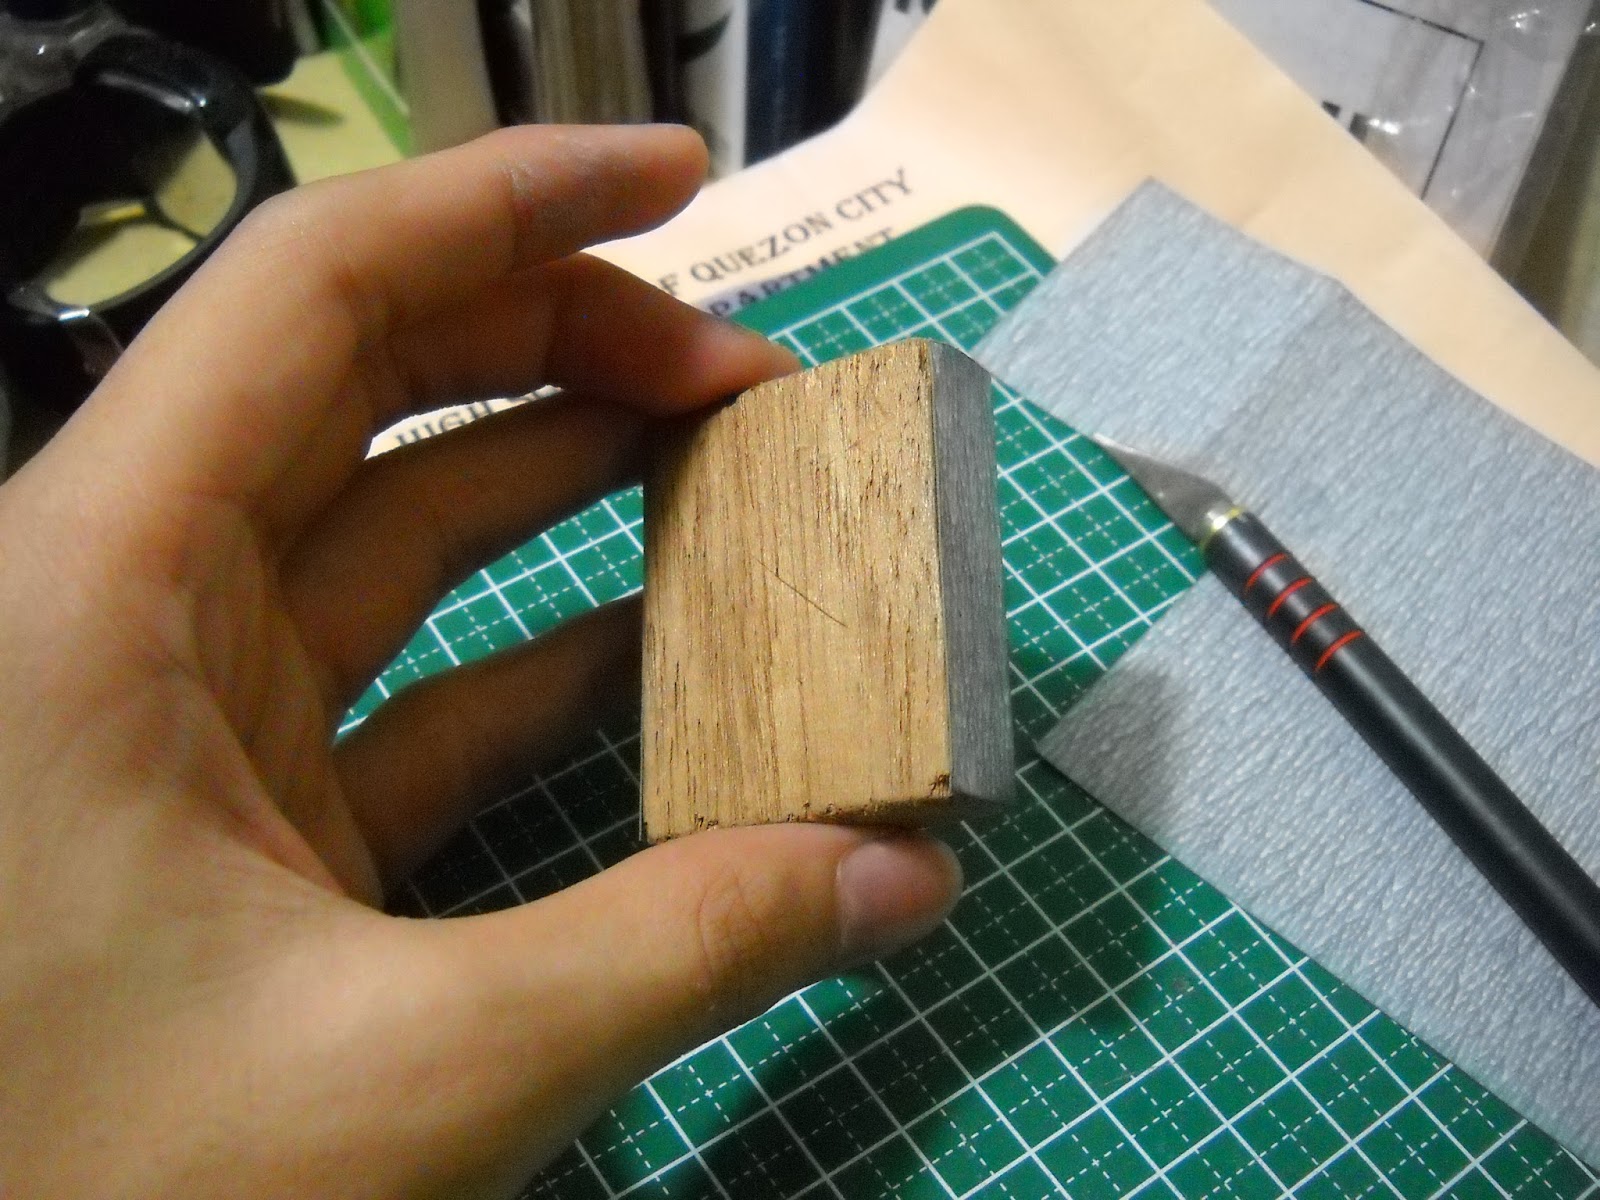
hey guys! today i would be teaching you how to make a sanding block. but what is a sanding block, and why is it so important? a sanding block is a very useful material when it comes to sanding flat surfaces on your kit. because when you use your hand to aid, as you sand a part, you are unknowingly smoothing/ curving out sharp detail on the corners of flat pieces. to prevent this, the sanding block can be an even surface to hold your sandpaper as you sand away.
materials:
-block of wood [or anything that can be a substitute]
-choice of sandpaper grit
-double sided tape
-hobby knife/scissors
once you have a good sized block, we can now begin this tutorial.

in this demonstration, i am doing my usual super fine sanding block. in where i put 2000 grit finishing abrasives onto a small area, and 1500 grit on majority of the block. by doing so, you can use the full "potential" of the block by placing varying grits unto it.
now to begin the tutorial!
start by laying your block flat on the smooth side of the sand paper, once you have an idea on the size, you can now attach your double sided tape on that area.

ta dah, its stuck.
now, while the SP rests nicely on the block, pinch the folded area to create a sharper corner.

because of this, there should be a fold on the other side. this is what you are going to use as your guide while you cut. for the areas without folds, i'm sure you can handle it without the fold.


finish cutting around the block, so that it retains the shape.

press down firmly on the block to make sure it attaches properly to the tape and done! you have successfully made your very own sanding block.
thanks for passing by, till' next time!
0 comments