how to apply dry transfer decal
August 15, 2013
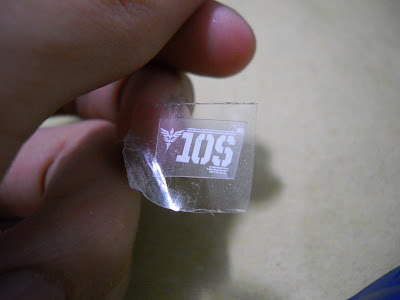
hello readers! today i'm going to show you how to apply your dry transfer decals, also known as etching decals to your model kits.
materials:
-dry transfer decal sheet
-blunt object (coin, finger nails, etc.)
-clear tape
so before we begin acquire a sheet of dry transfer decals! most MG's come with these decals, but I'm not sure if they're being sold individually.
once you have found yourself a set of decals, you can choose to follow your manual or you can decide on your own where you plan to apply them on.
now carefully cut the decal of your choice from the sheet, remember not to cut too close to the decal itself just for safety reasons.
now that you have a specific decal, using your clear tape, lay the tape on the opposite side of the decal. (the not stick side)
this tape would keep the decal from moving as you etch.
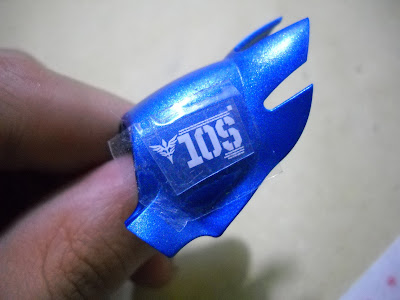
now place the decal on the area of your part you want it to be placed on.
once it is securely attached, etch the back using a blunt object. apply the pressure throughout the whole decal.
when you feel that the decal has successfully stuck to your part, carefully remove the tape along with the plastic backing of the decal. make sure that the all the details of the decal has attached itself properly, if not carefully lay down the tape, and etch again.
using a qtip, carefully press down the decal to reduce seeing the edge and securing the decal in place.
if you have done it properly, it should look somewhat like this:
thanks for reading! till next time.
P.S. - you only got one shot to apply a dry transfer decal, so messing up is not an option.


0 comments