
airbrushing basics [double action]
November 13, 2013
welcome airbrushing 101, here your going to learn the basics on how to use a double action airbrush, and other things you should be aware of when owning one. some are asking how different is double action and a single action AB are, truth is i don't really know… never owned or use a single action AB, but many say they have some similarities. now lets begin airbrushing 101!
-mechanics of the airbrush-
now the trigger of a double action works in both ways, it controls both the air and the amount of paint released. push down to release the air, and pull back to release the paint. this way you have better control when working on either detail or spraying over wider areas.
heres a better look on what makes an airbrush.


1 - Needle Cap
2 - Nozzle Cap3 - Nozzle .2mm 3A - Nozzle .3mm 4 - O-Ring for Nozzle Cap 5 - Needle .2mm 5A -Needle .3mm 6 - O-Ring for Needle Guide 7 - Needle Guide 8 - Needle Packing 9 -Trigger 10 - Secondary Lever Guide 11 - Stopper 12 - Needle Adj. Sleeve 13 - Spring 14 - Needle Chucking Guide
info taken from: tcpglobal
| 15 - Needle Chucking Nut 16 - Standard Handle, Adjusting 17 - Needle Stop Adj. Screw 18 - Needle Guide Lock Screw 19 - Trigger Plunger O-Ring 20 - Valve Body O-Ring 21 - Valve Body 22 - Valve Rod O-Ring 23 - Valve Rod 24 - Valve Rod Spring 25 - Valve Rod Spring Retainer 26 - Hose Connector Nut 27 - O-Ring for Hose Connector 28 - Hose Connector Barb 29 - Nozzle Spanner |

above are some important components when you begin airbrushing:
- paint cup- this is where you store the paint as you spray, they do come in different types: the gravity feed and the siphon feed, both have they're own advantages and dis advantages.
-nozzle- here is where the paint is released, it is very important to keep it as clean as possible to avoid clogging of paint.
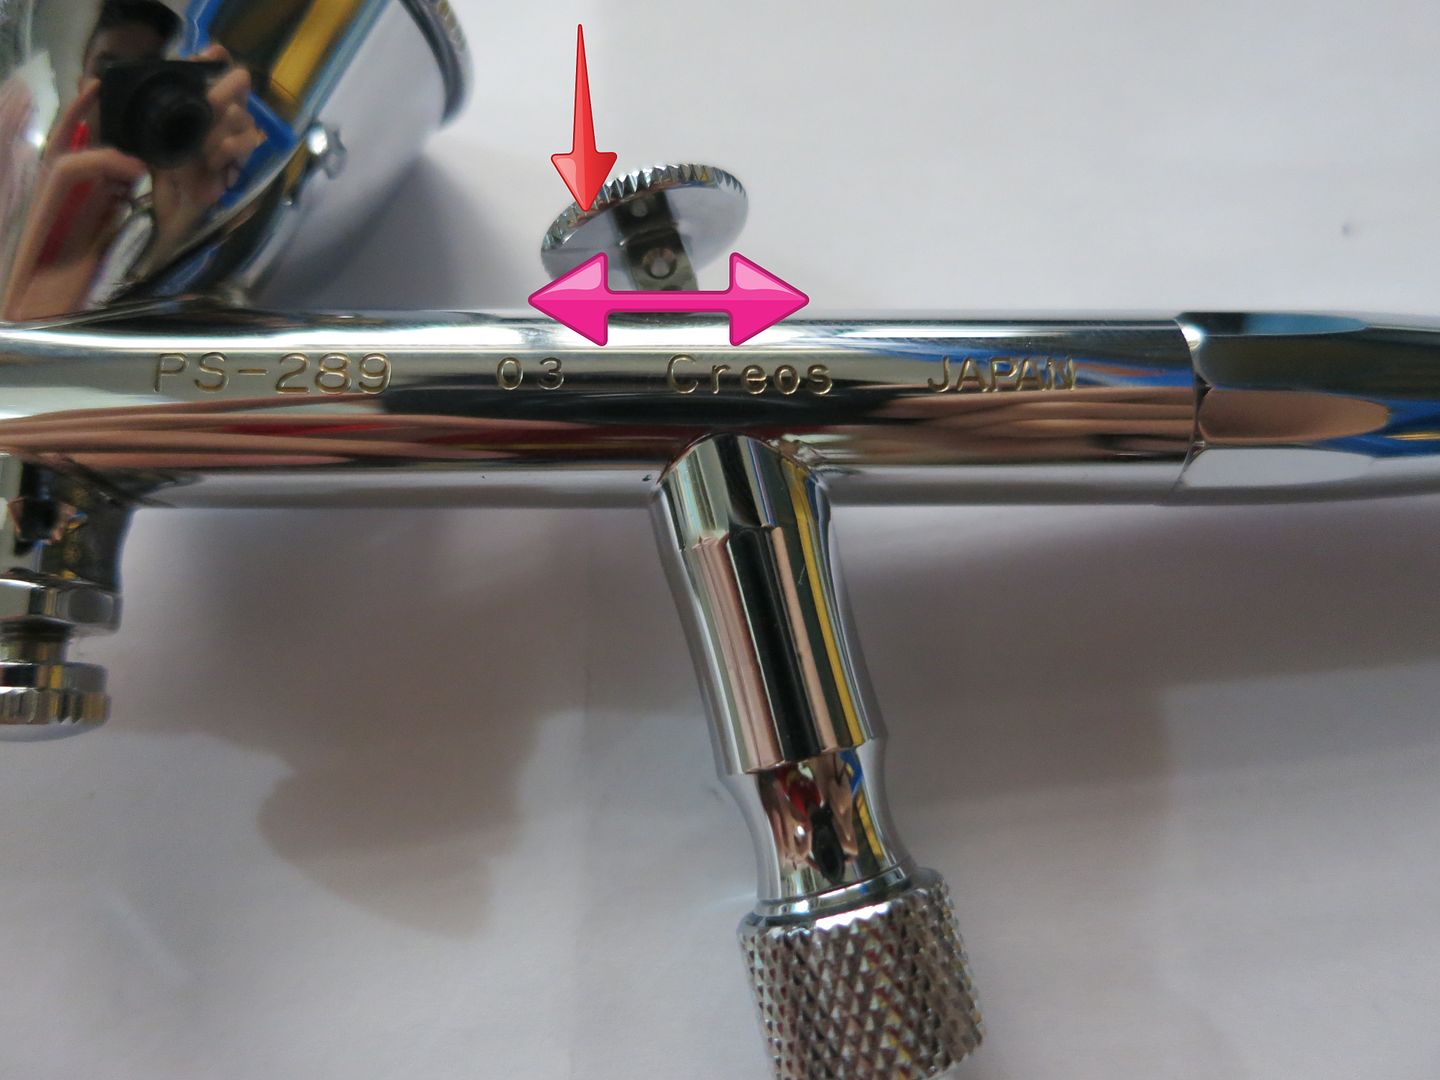
-airflow knob- this function can now be found in many airbrushes, this can also control the amount of air released by the brush without having to tamper with your compressor gauge.
-stopper- this controls how far you can pull back the trigger, its very useful if you want to maintain a certain amount of paint released.
-trigger- this controls both paint and airflow released from the airbrush.
-hose connector- this connects the airbrush with its compressor, the air flows through this to reach the airbrush unit.

this is the needle, it is located inside the airbrush. it is really important and should be treated with care.. bend it's tip and your airbrush would not function, and buying another would cost you.
-set up for painting-
you do need to thin your paint a lot depending also on the size of your nozzle, the smaller the nozzle is, the more you have to thin it down. i usually go for a 1:1 or 2:1 thinner to paint ratio, depending on the situation.

place your airbrush on its holder while you pour the paint, it makes the process much easier.


always remember to keep the cap on to stop the paint from drying.

i usually put the gauge at 15-20psi for my regular spraying, 20 for very wide areas and 15 below for smaller, more detailed areas.

before you start spraying on your gundam kit, always start on a blank paper to see how well the paint is atomizing.


once you are confident in practice, you can now move on to painting your kit.


after painting, it is always to important to clean your airbrush thoroughly. make sure to purchase the proper materials to make cleaning easier. have a lot of thinner, tissue and cloth, because its gonna get messy. clean before every paint switch and after the whole spraying session.


and thats the basic things you need to know about airbrushing with a double action, till next time!
0 comments