


Product Description
This item is a posable, high-grade or better injection-plastic kit of an item from the Gundam universe.
Highly detailed and articulated snao-fit kit, molded in multiple colors. Display stand notinlcuded.
- Code:
- BAN981944
- Series:
- Gundam UC (Unicorn)
- Date Released:
- April 2013
- Package Size/Weight:
- 31.0 x 20.0 x 11.3 cm / 540g
- Manufacturer:
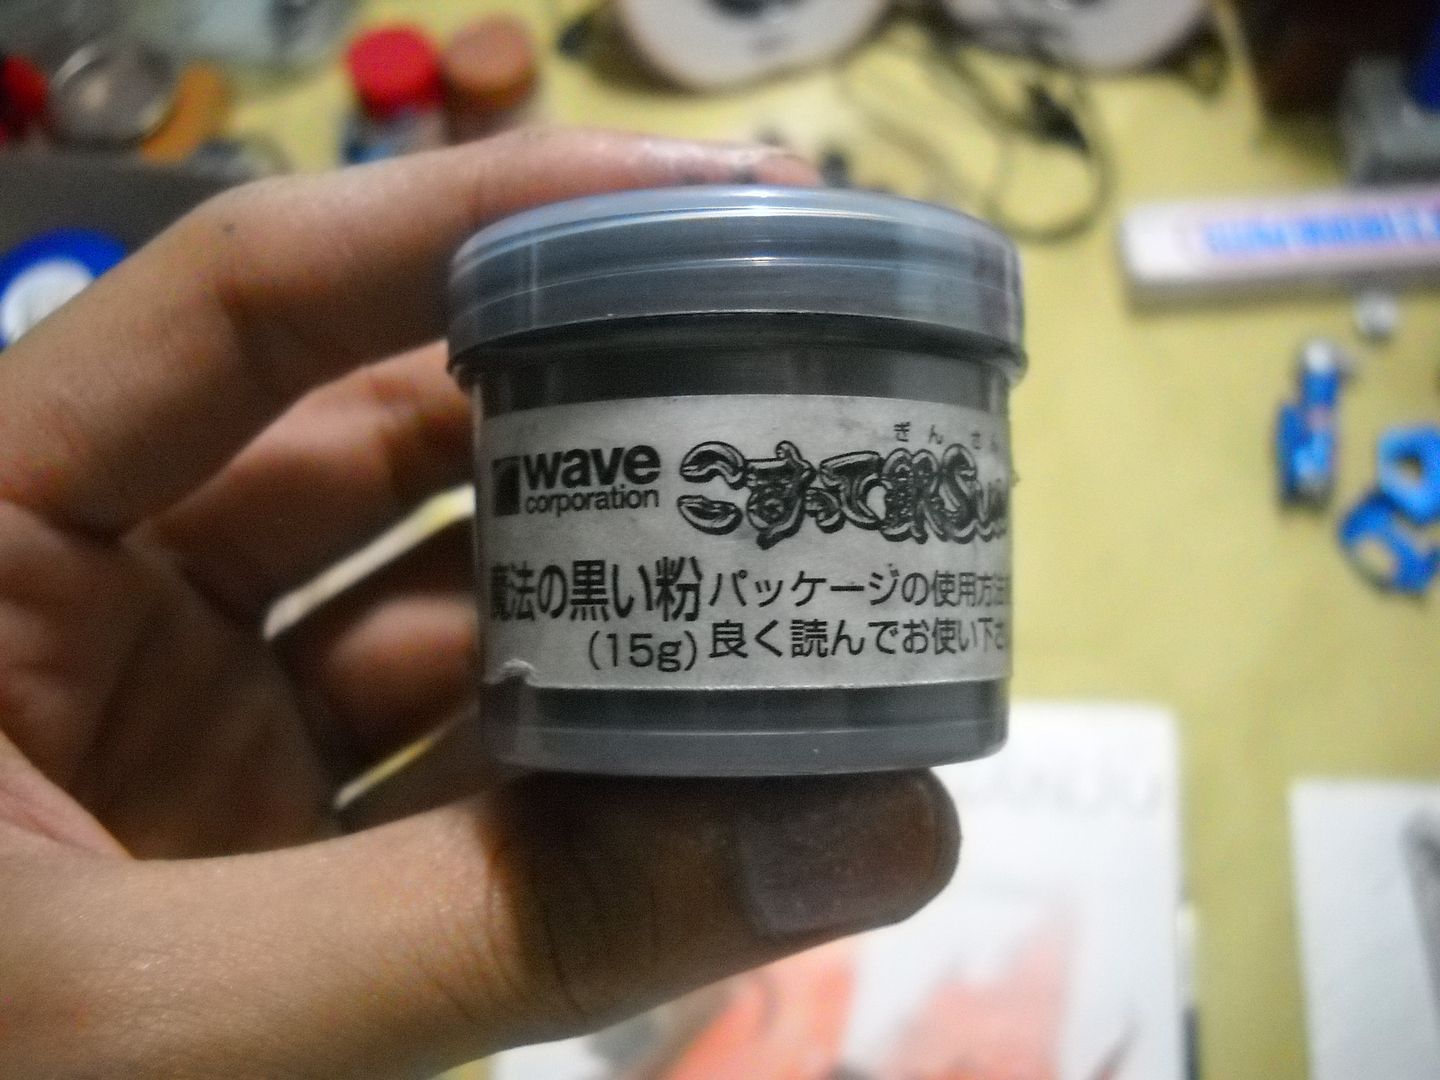
metallic powder is useful when you want to give your model a realistic metallic sheen. Its A great way to improve the overall look of the model. its easy to apply,but tends to be quite messy.
materials:
> primer
> black paint
> metallic powder
> q tips
prime your part
once primed, paint a layer gloss black. having this layer of paint is important when using this product because it would affect the powder's "metallic" shine.
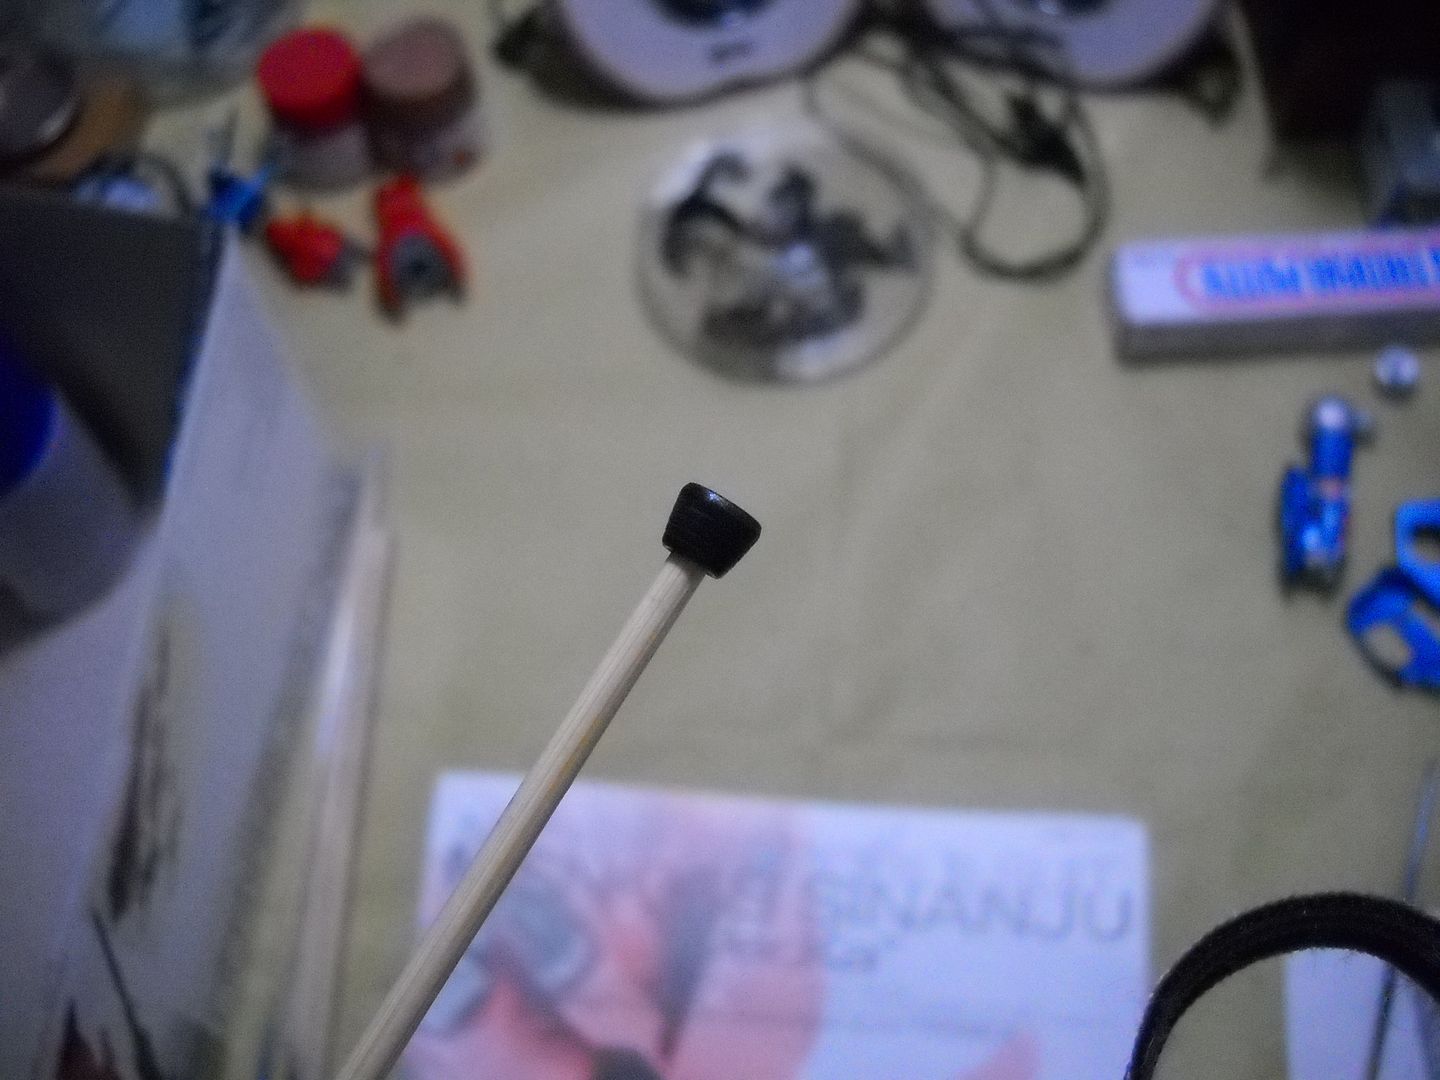

let the paint fully cure before proceeding to the next step.
I would be using the product made by "wave" but there are plenty of other brands that produce this as well.
Next, apply the powder using a qtip. Place a small amount and rub it on the part.
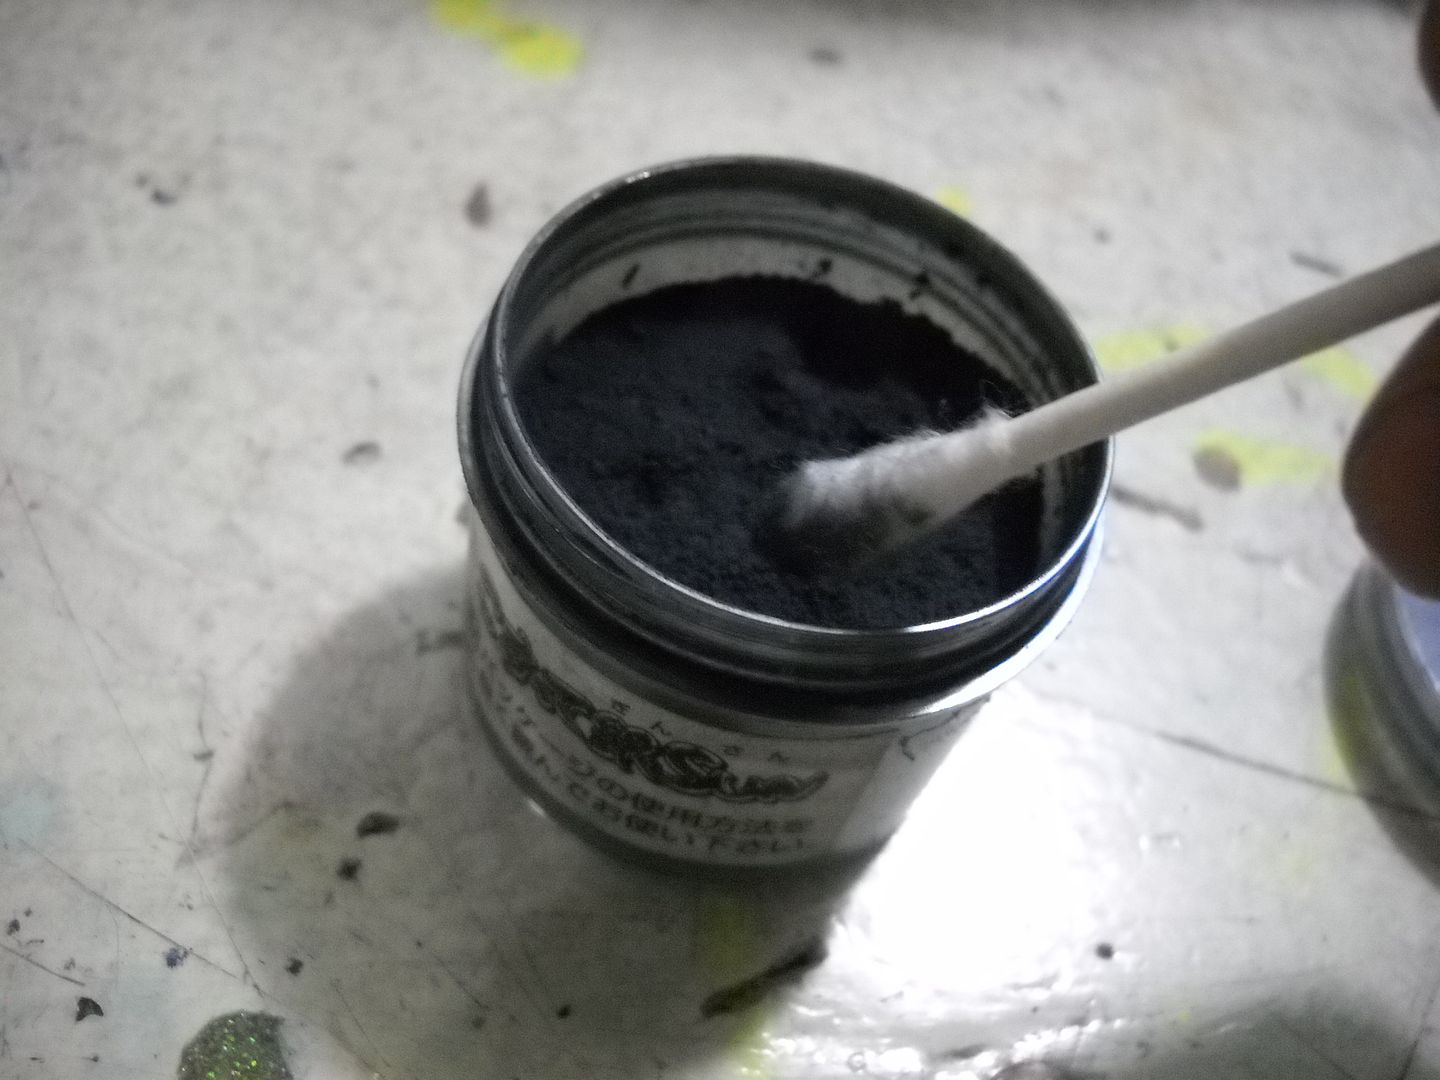
Make sure you do a thorough sweep throughout the part. keep rubbing it in until the metallic powder starts to take effect, the longer you rub the better the shine.
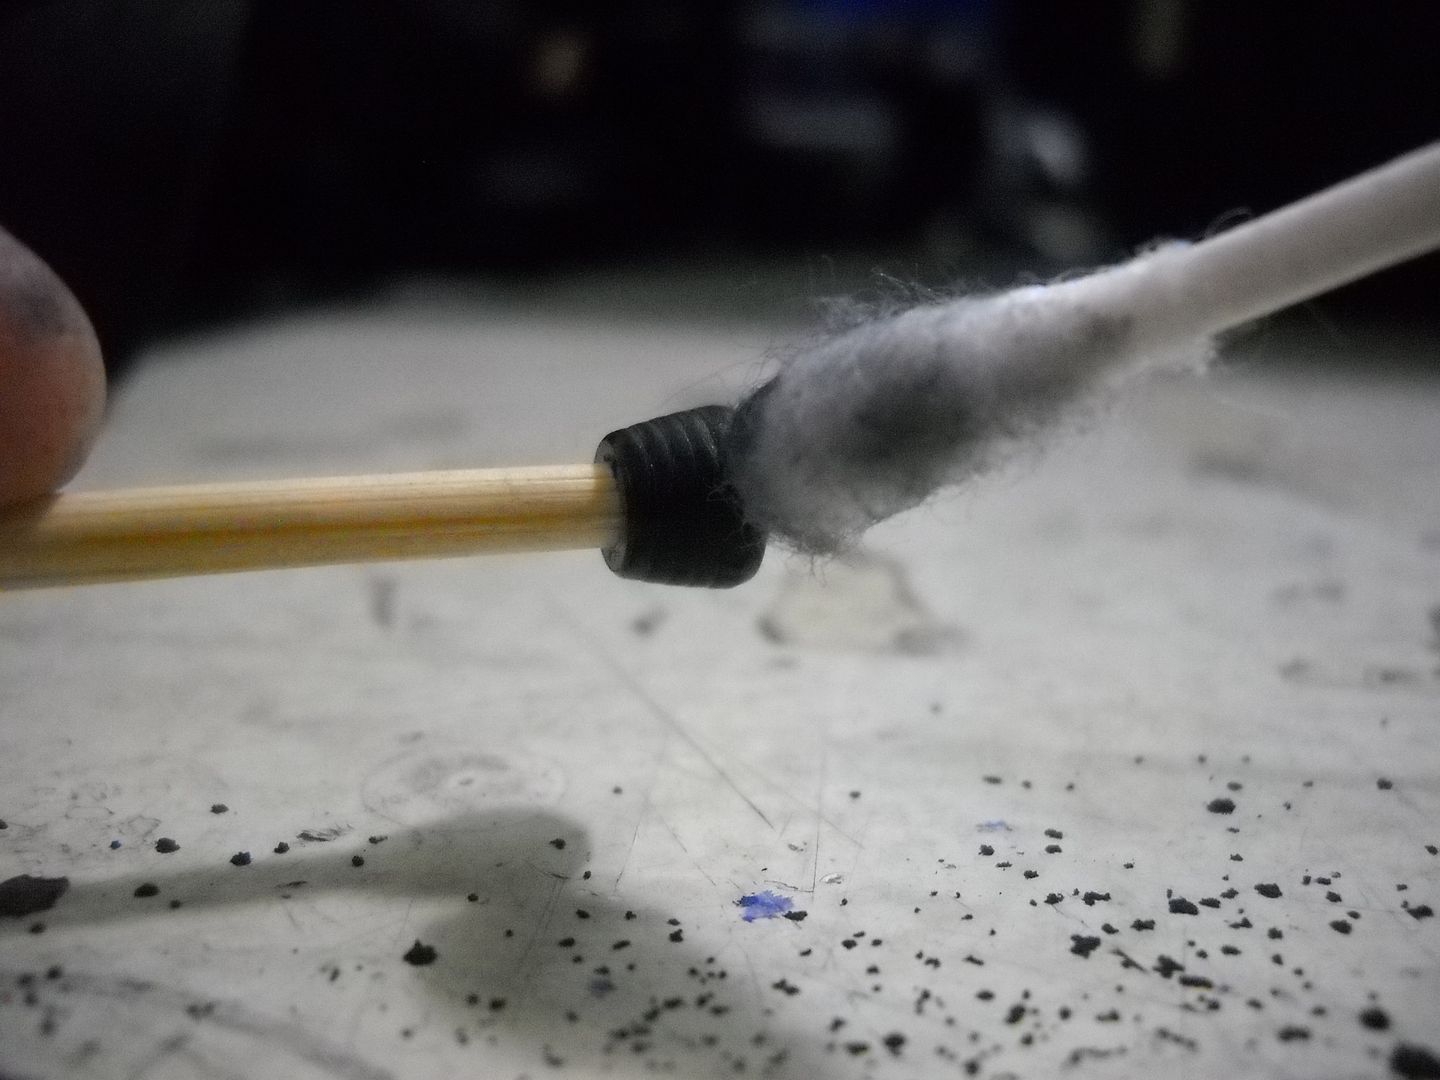
the first layer you put would be quite dull, but the more metallic powder you add, the better the outcome.
the powder is not invulnerable to get wiped off. Its you're choice to apply a clear coat, but this will affect the metallic shine, so think twice.
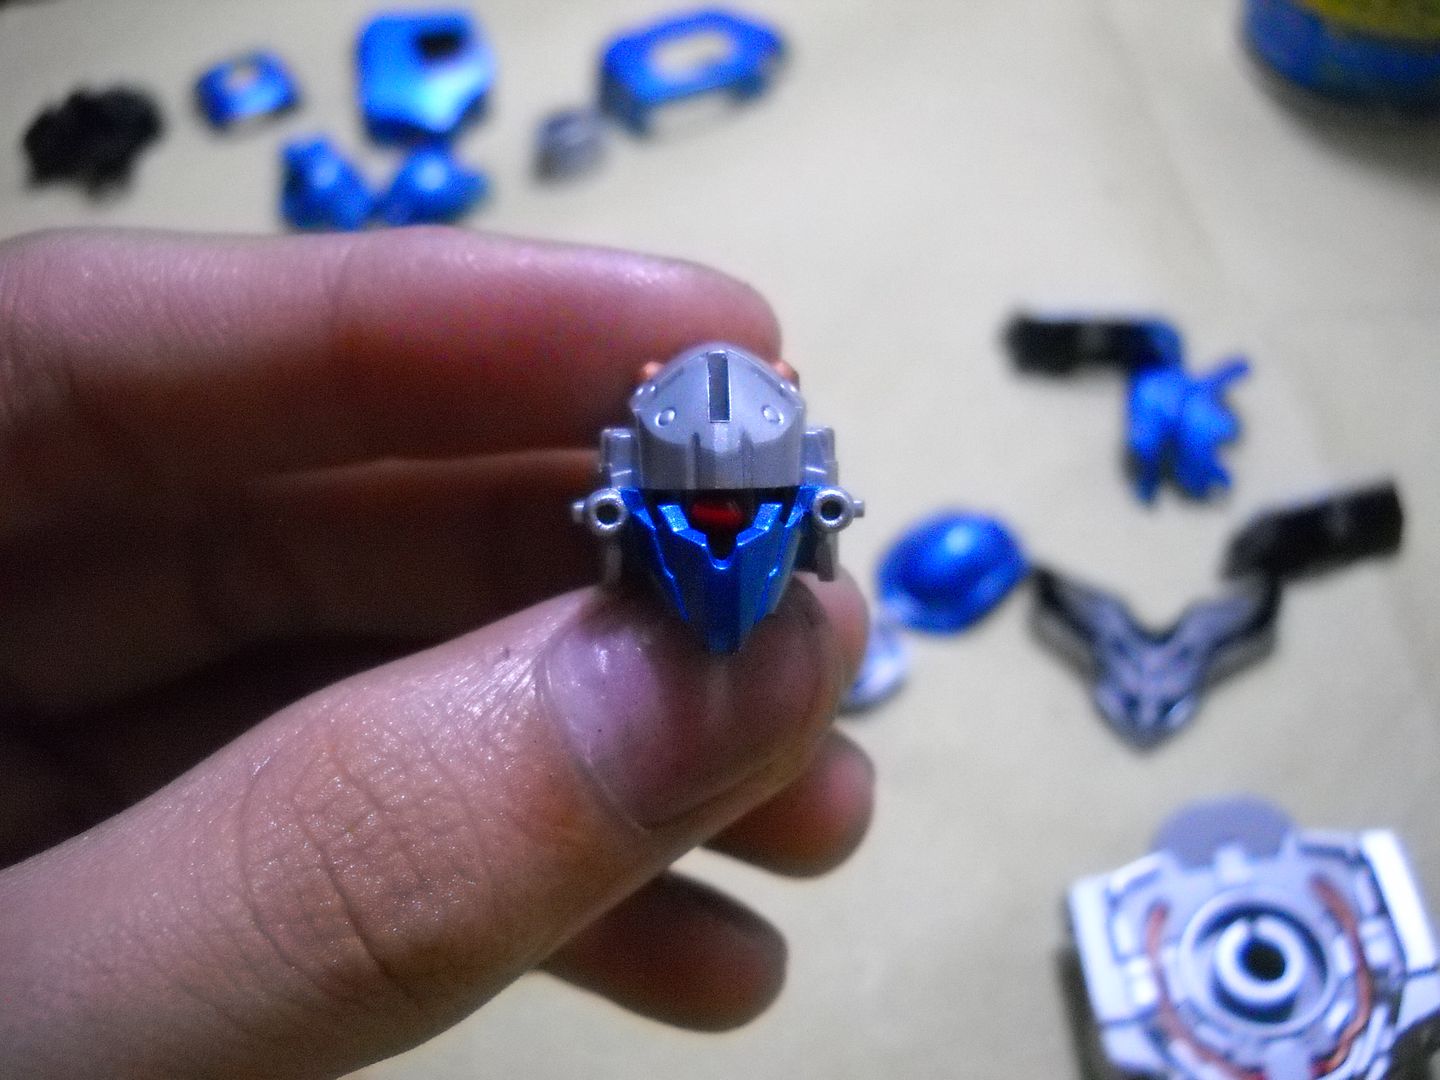
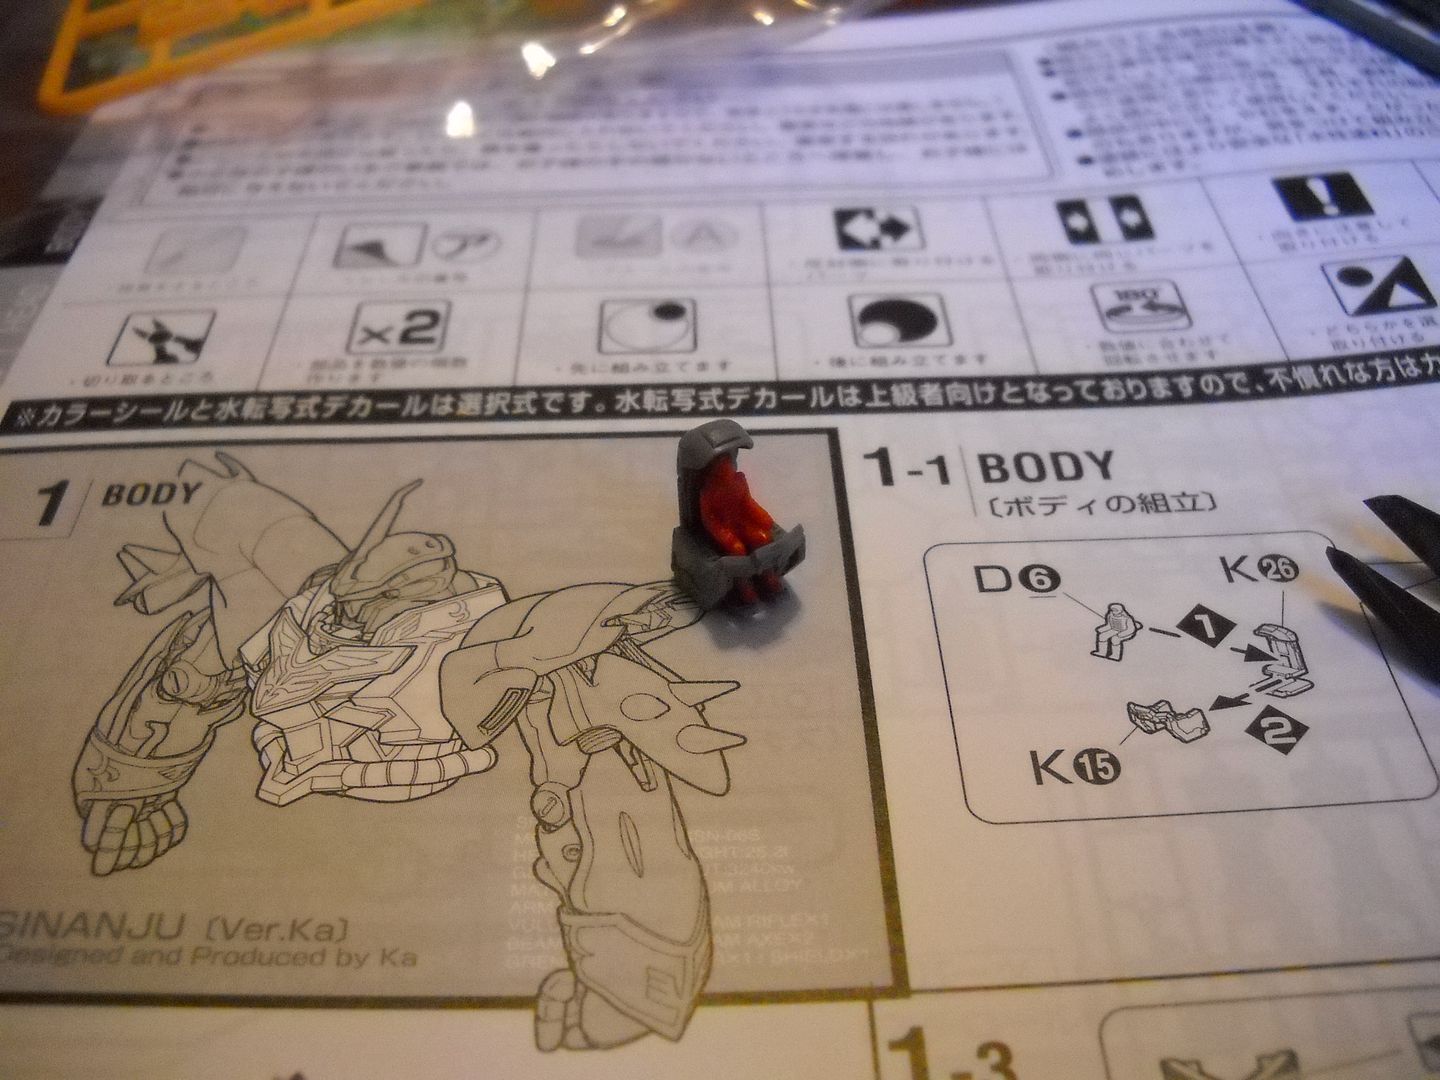
hey guys, here is my first work in progress update for my Sinanju entry. this is a "paint as you build" kind of thing, so that i won't be wasting time disassembling it over and over. so i build at least two parts before i start priming it.
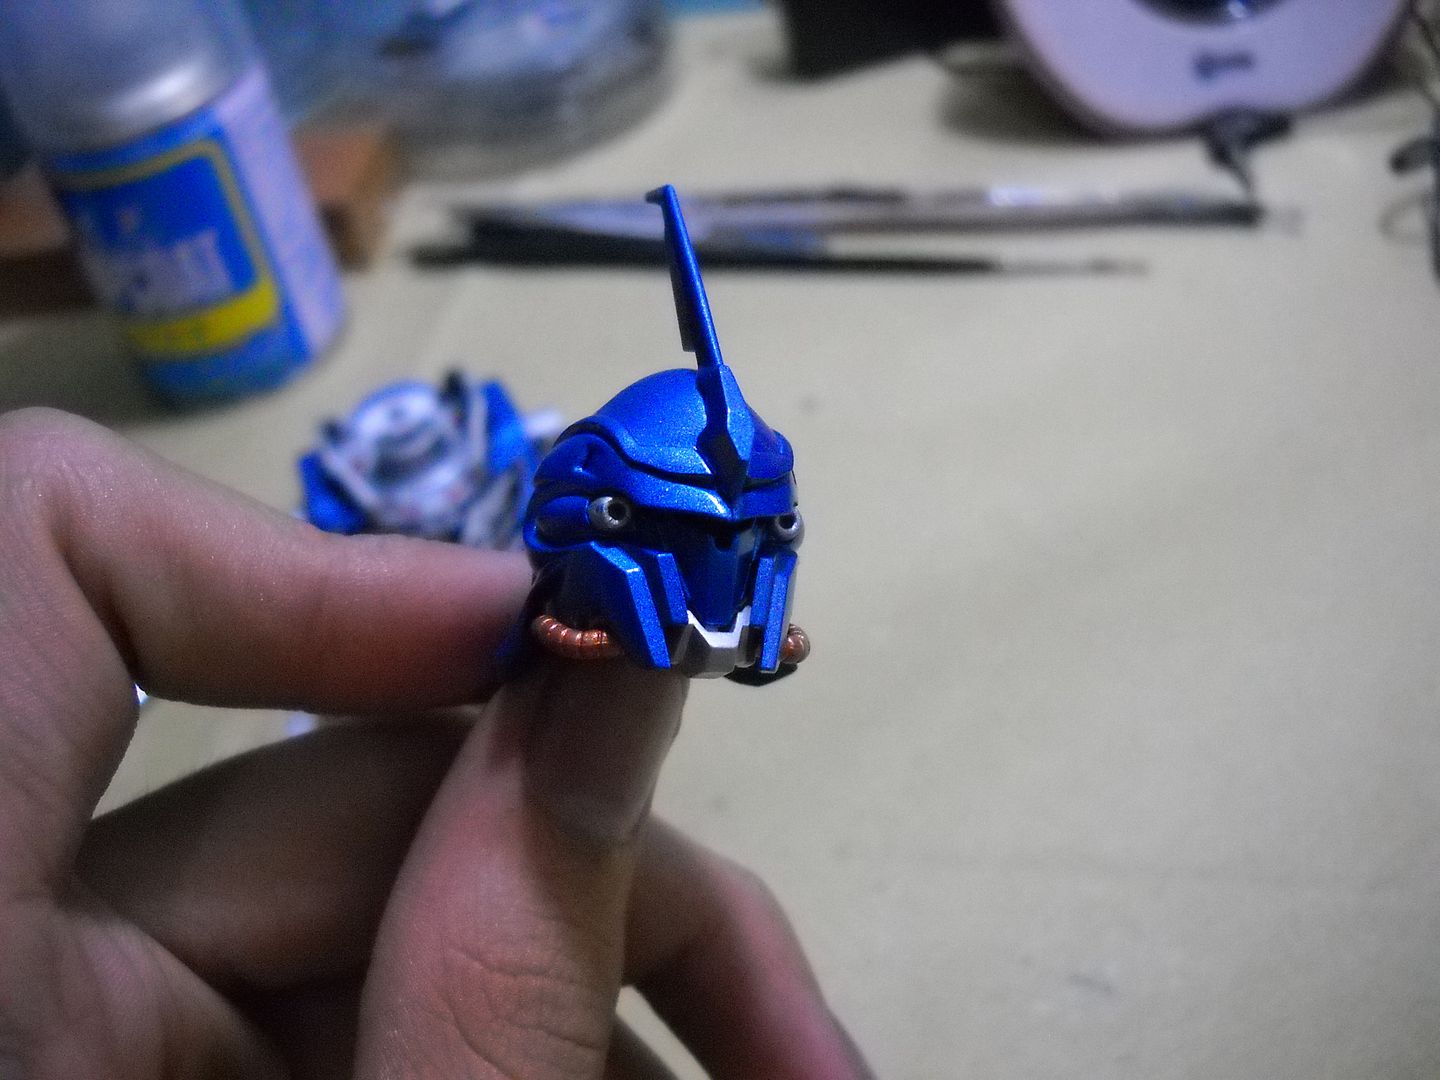
i did an under coat of silver before doing an over coat of metallic blue for the parts that were red before.
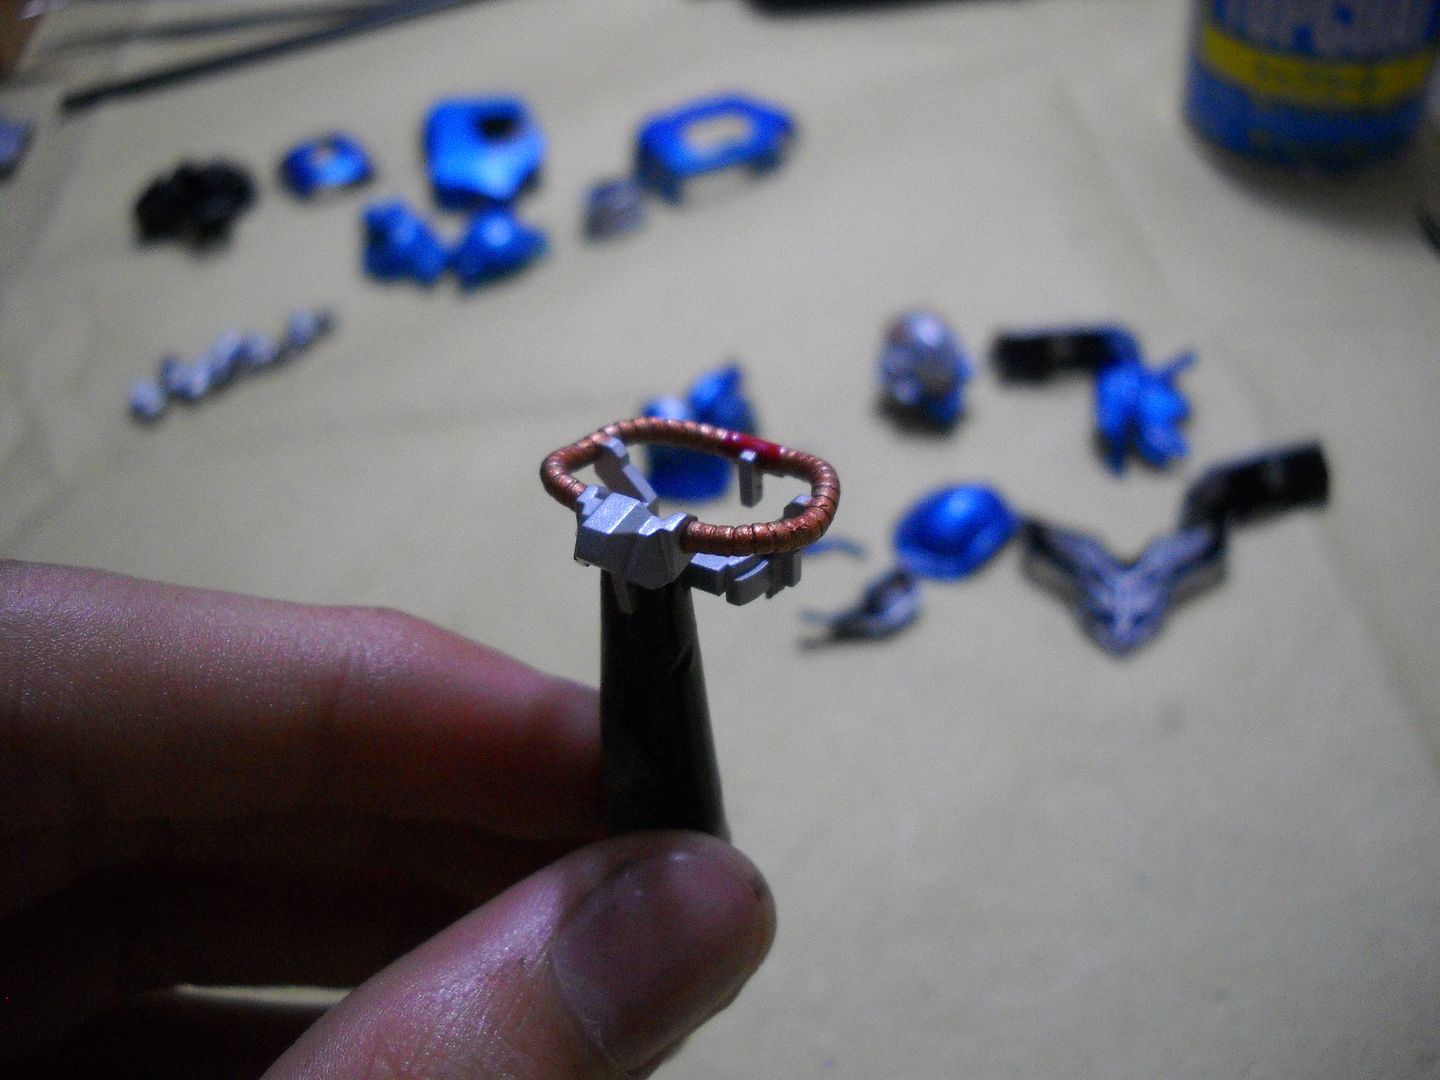
inner frame was painted silver with with hints of copper (favorite detailing color)
some progress shots:
my first under coat of silver for the torso.
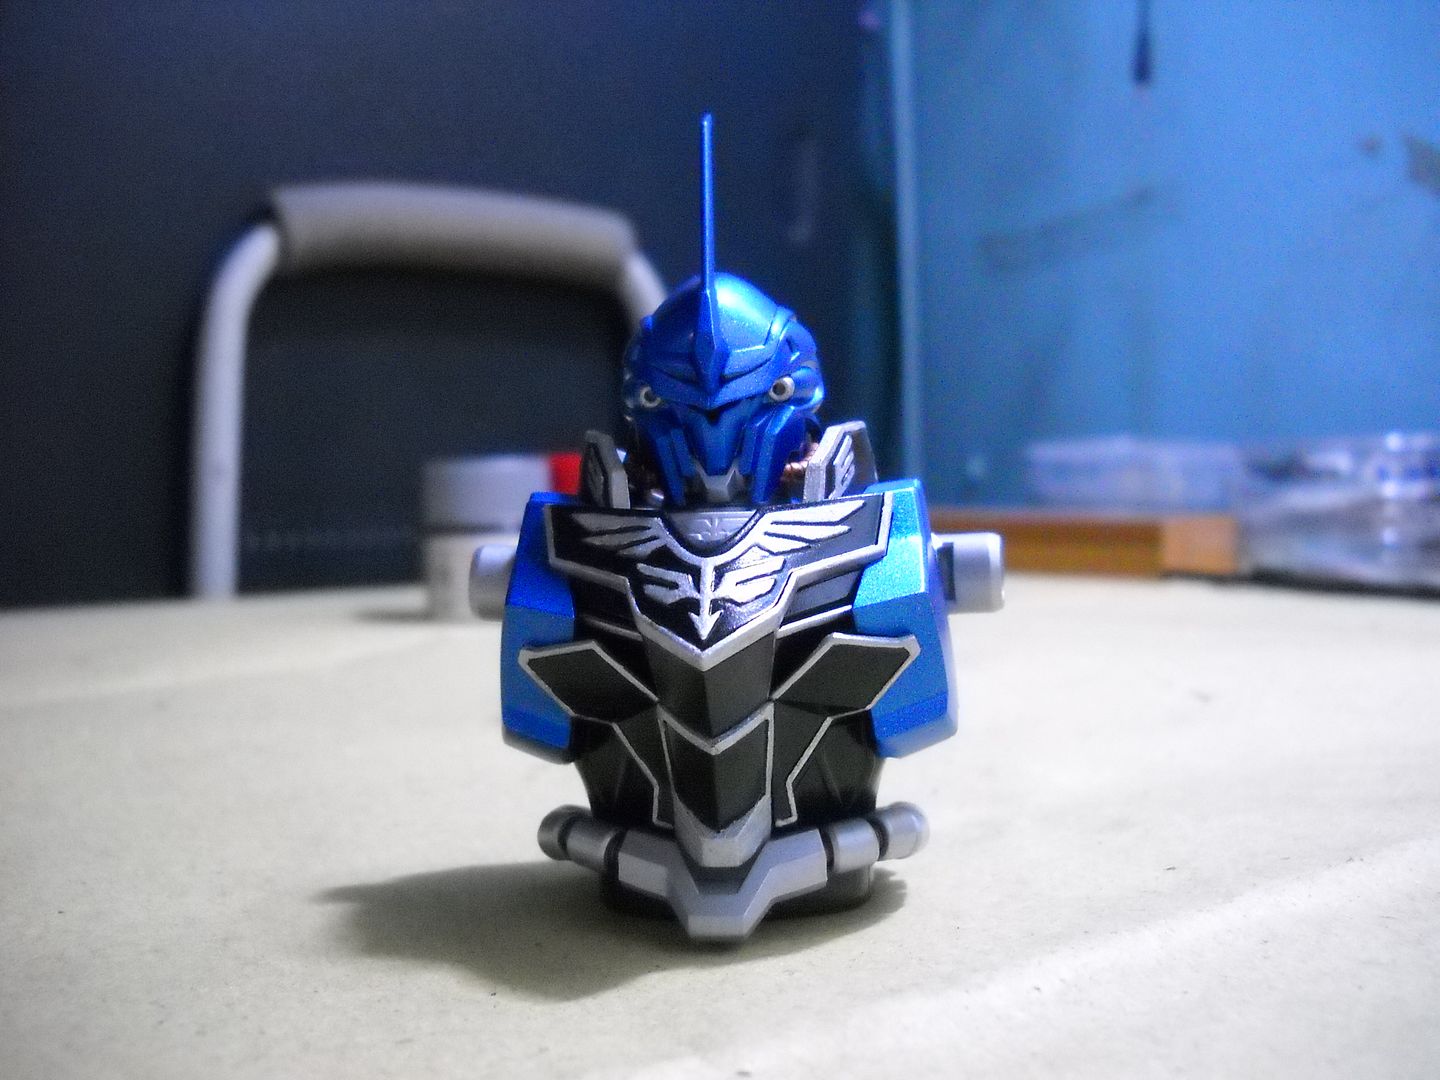
finished painting my blue over coat and the inner armor for the torso and head.
hand painting the raised details were a pain, should've just stuck with a reverse wash too bad i dint have black enamel paint, can't work without it. pretty rough.
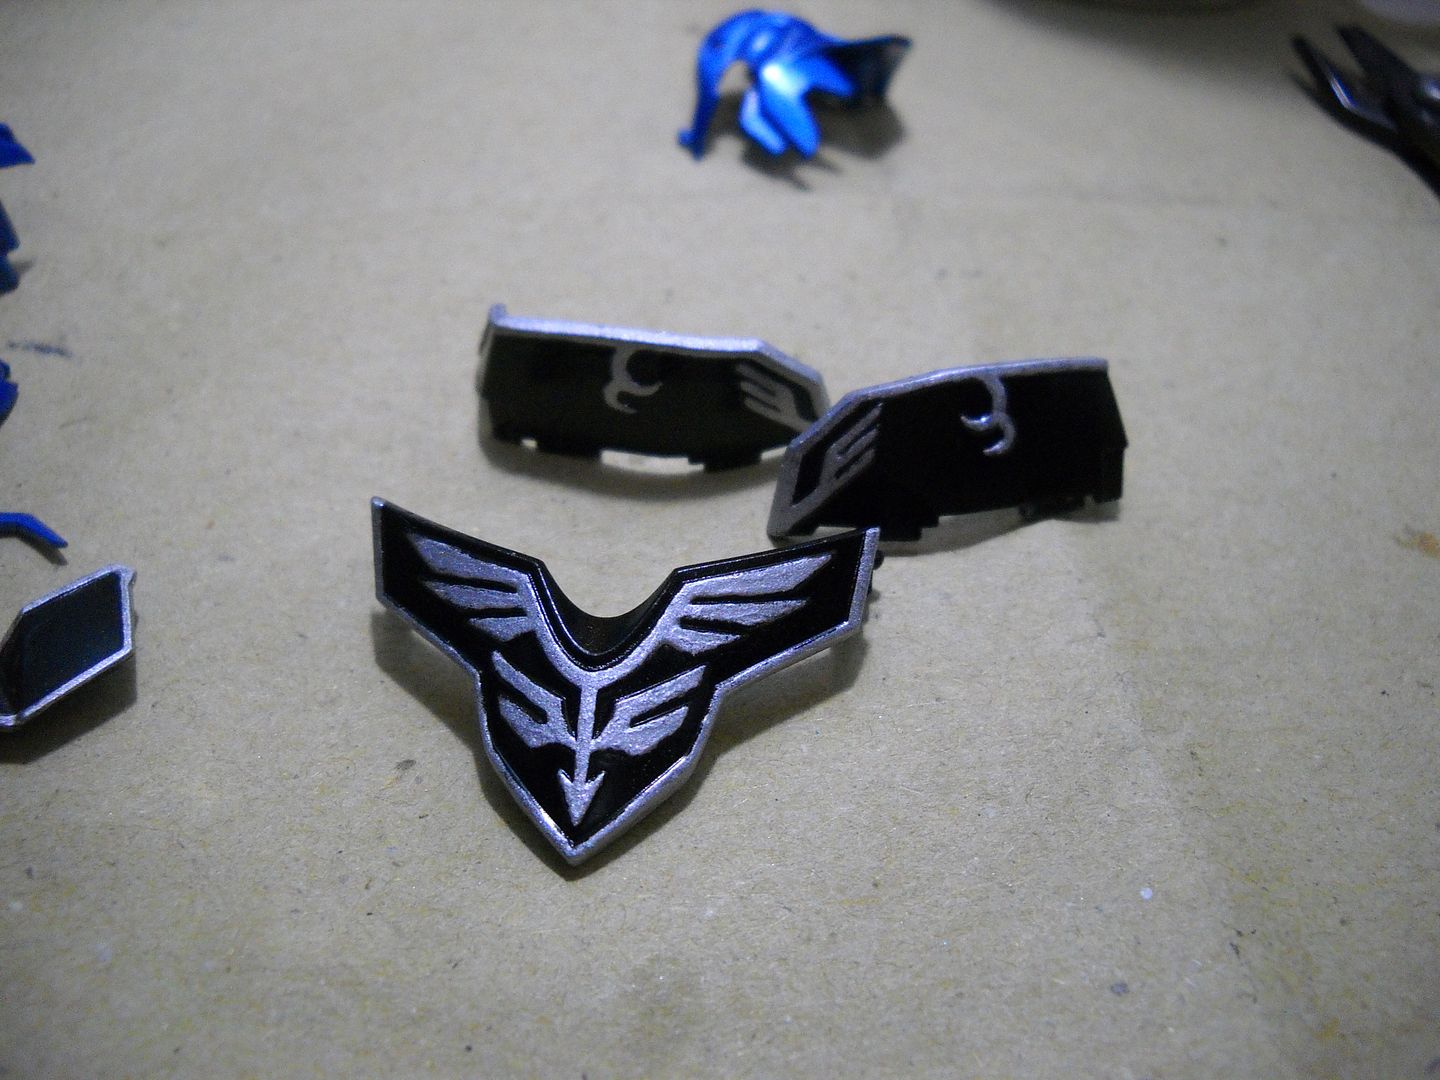
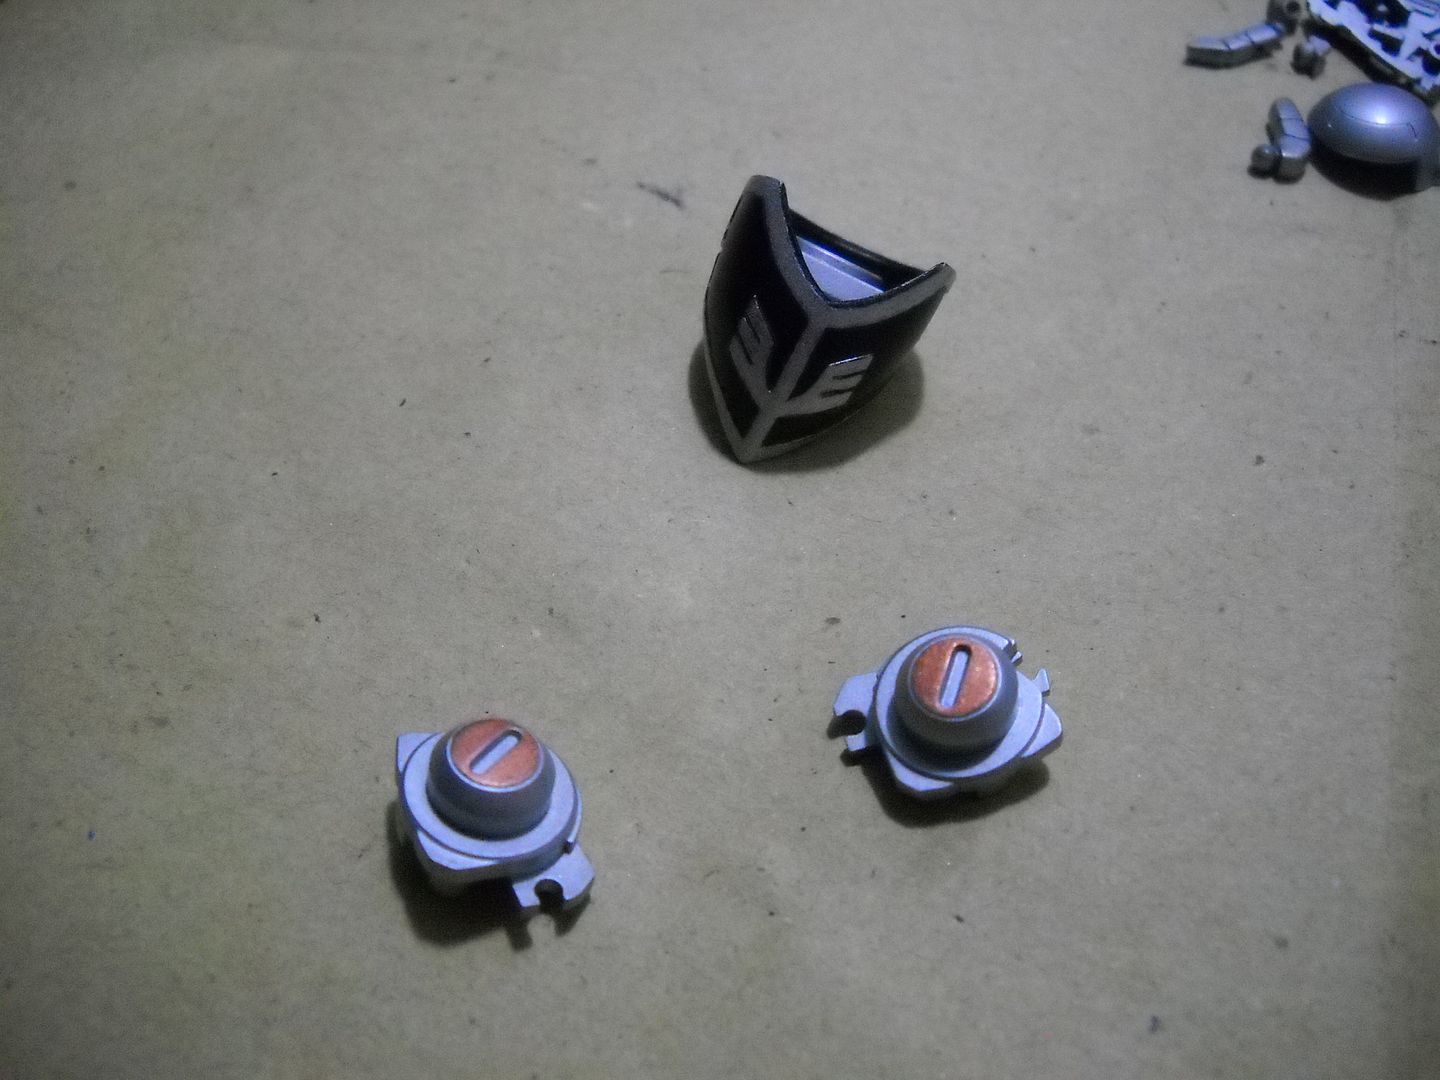
painted on some extra details.
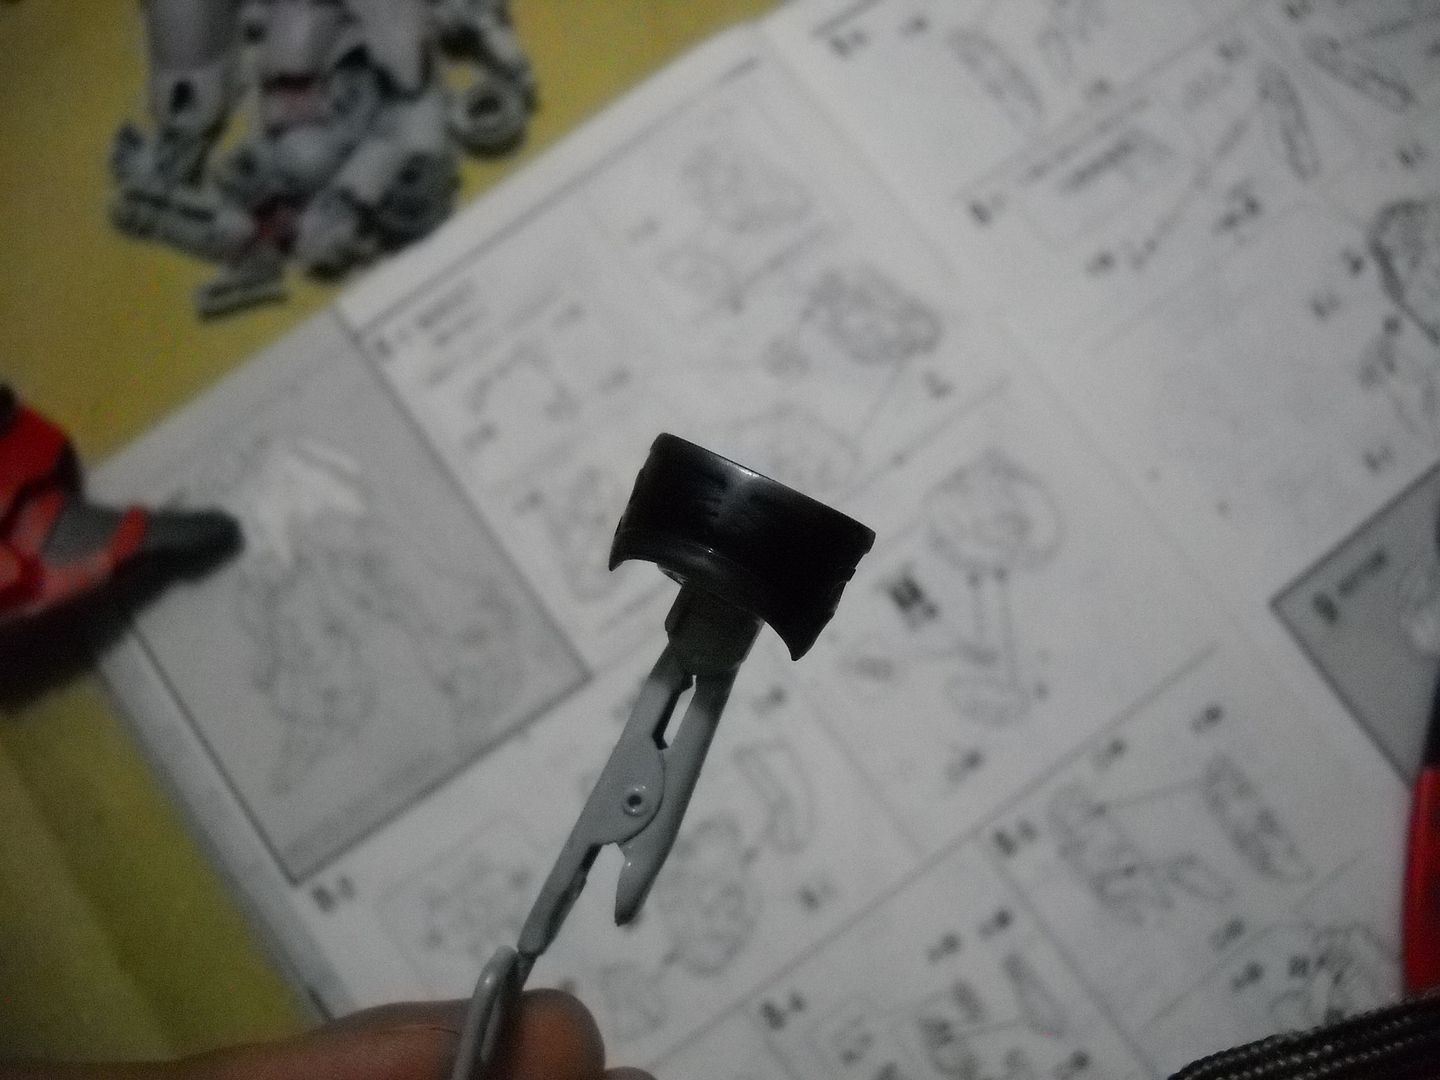
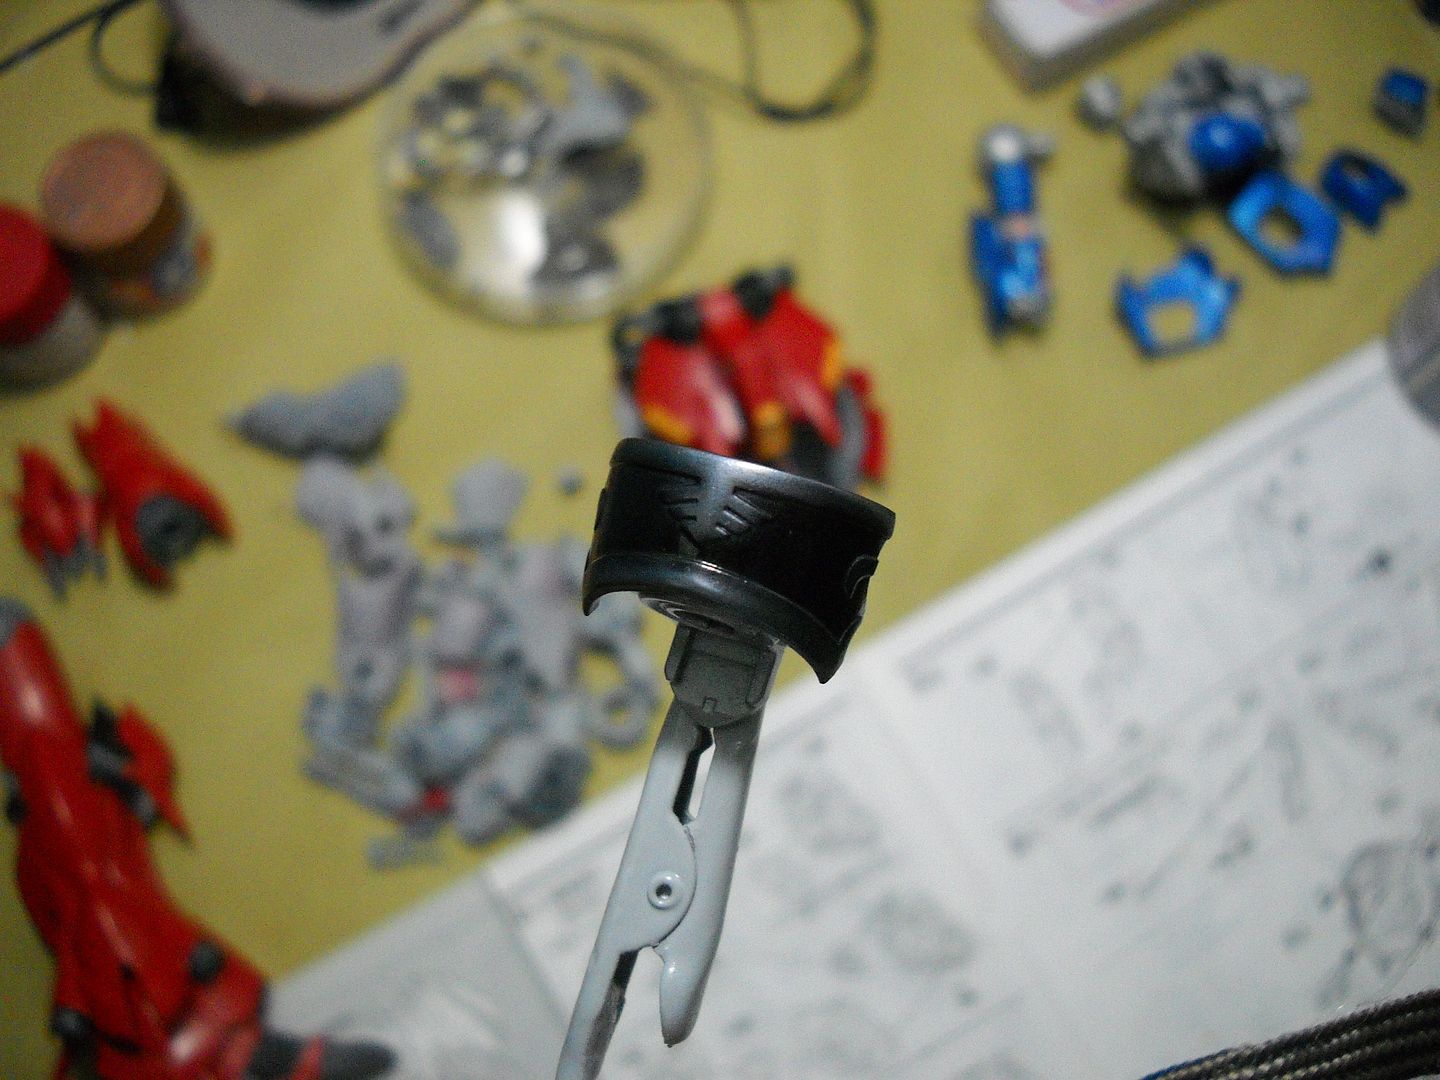
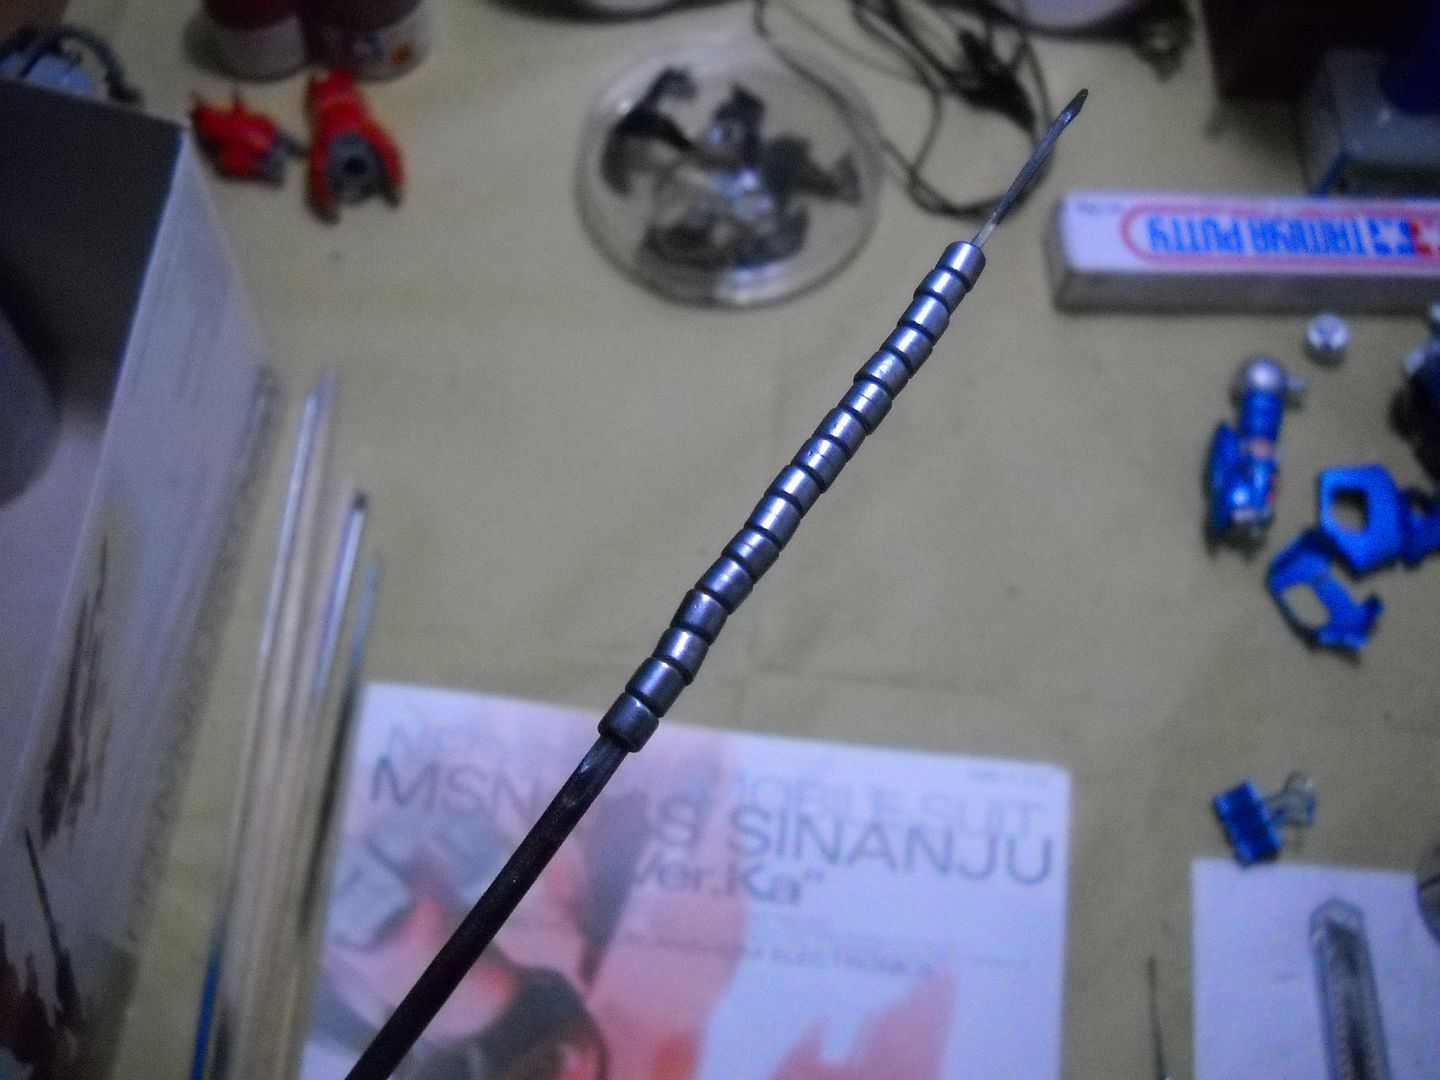
heres a shot of the eye before it gets tucked away with over head visor.
goodbye eyes.
forgot to cover the seam line on the back before painting, so i had to redo and just mask the front.
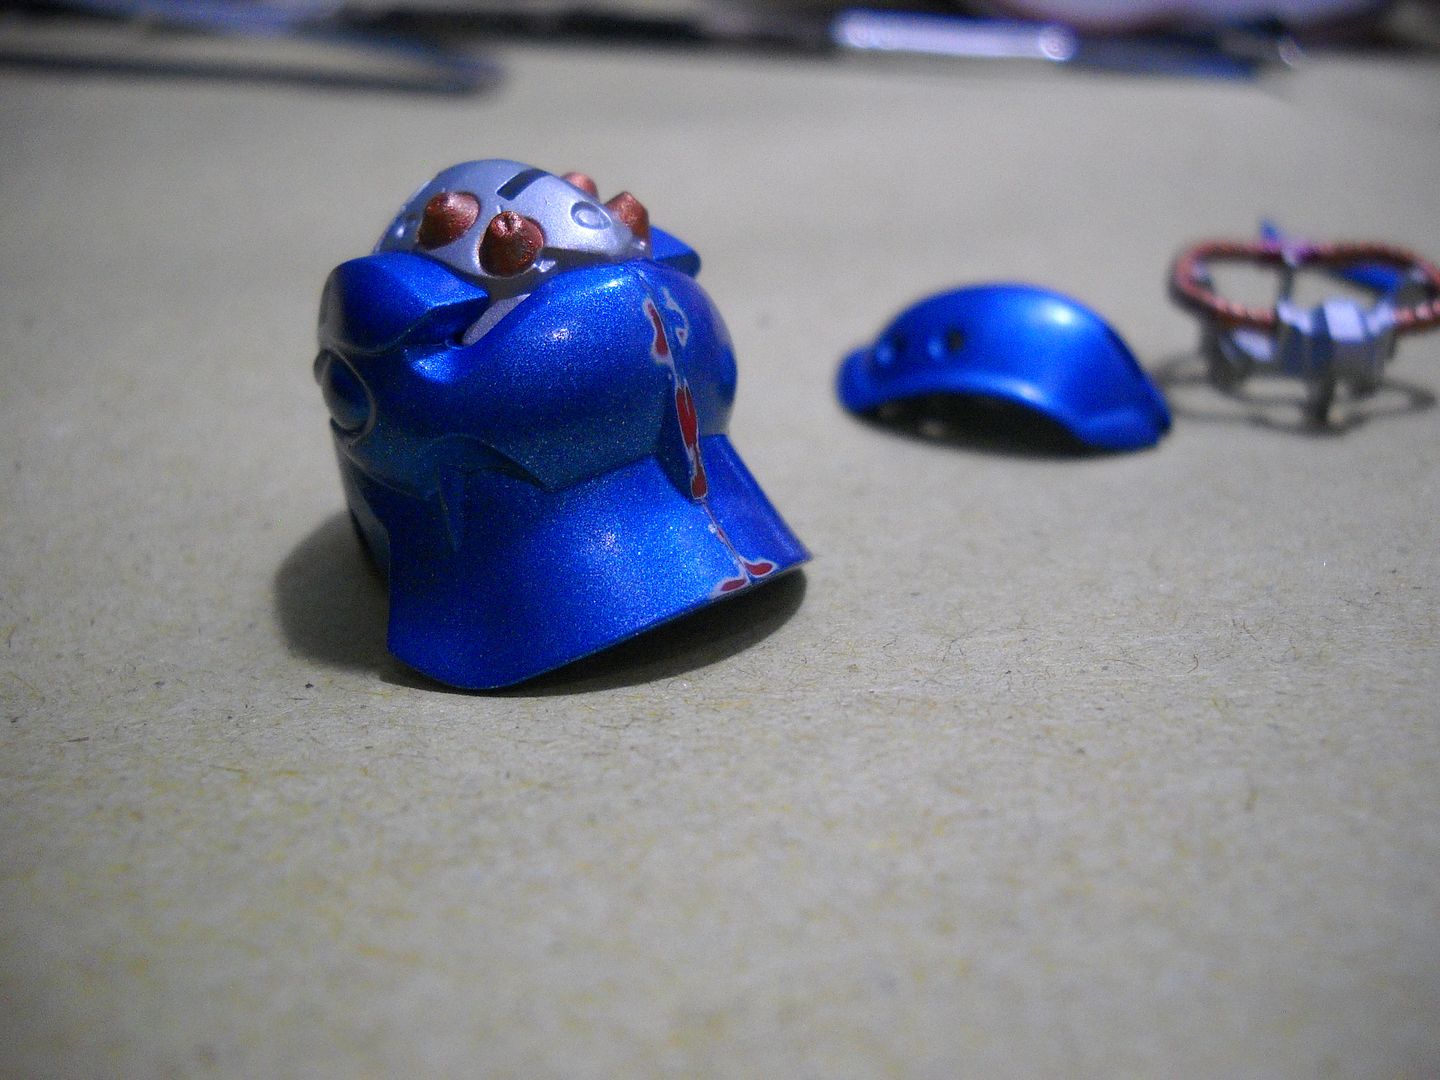
tah dah! all gone.
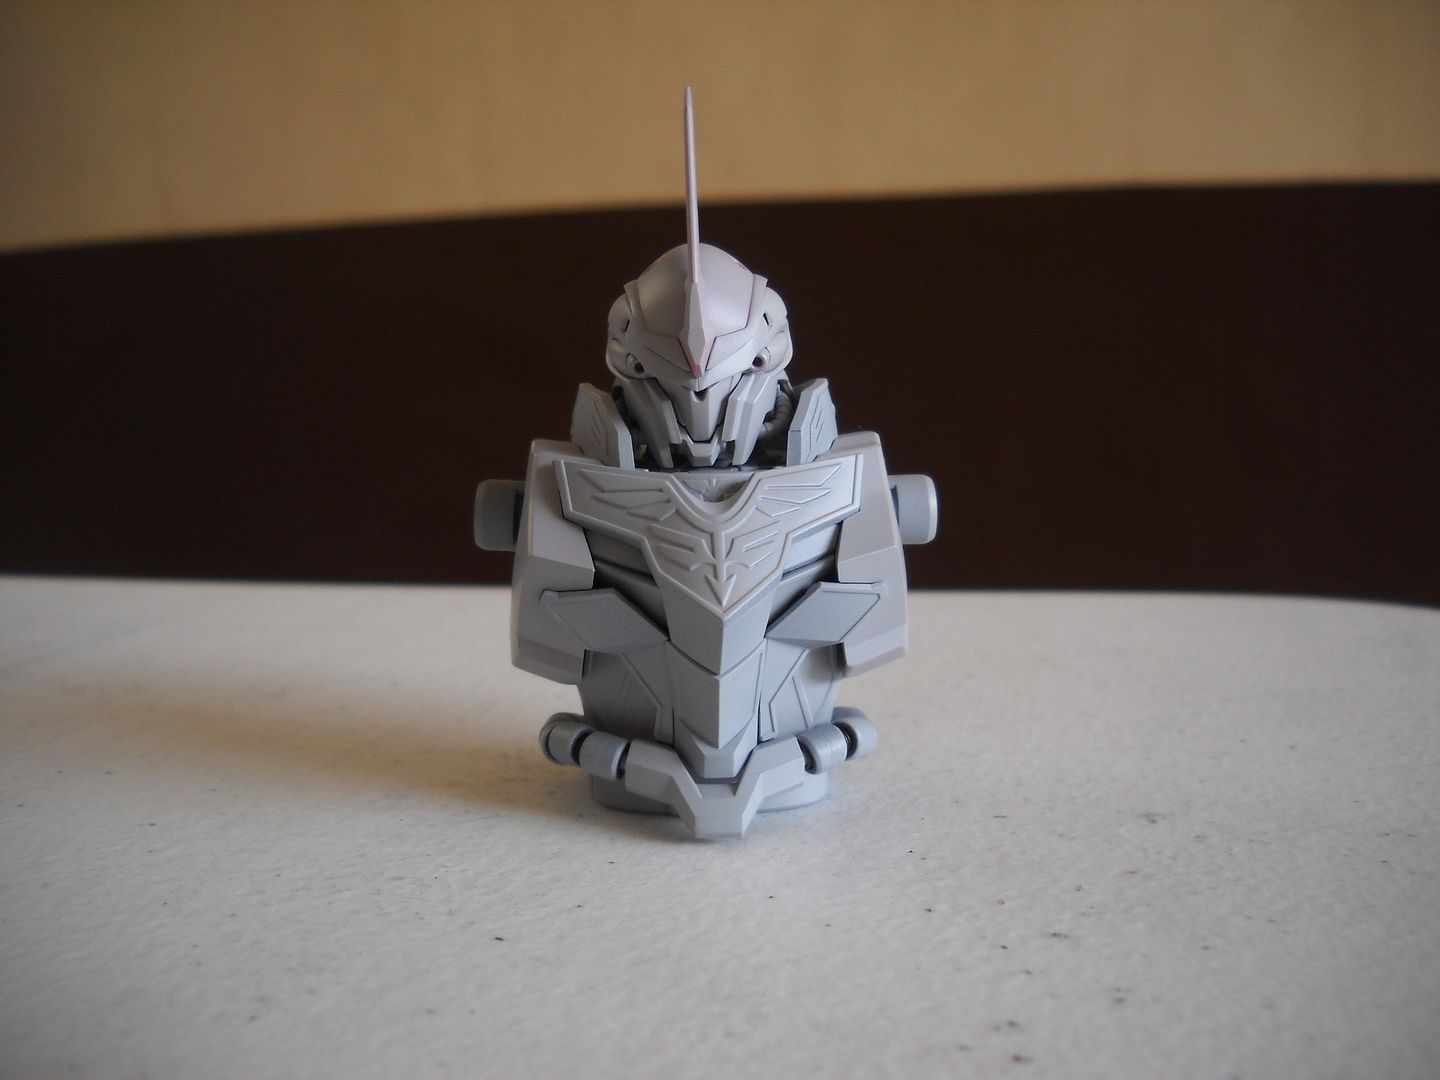
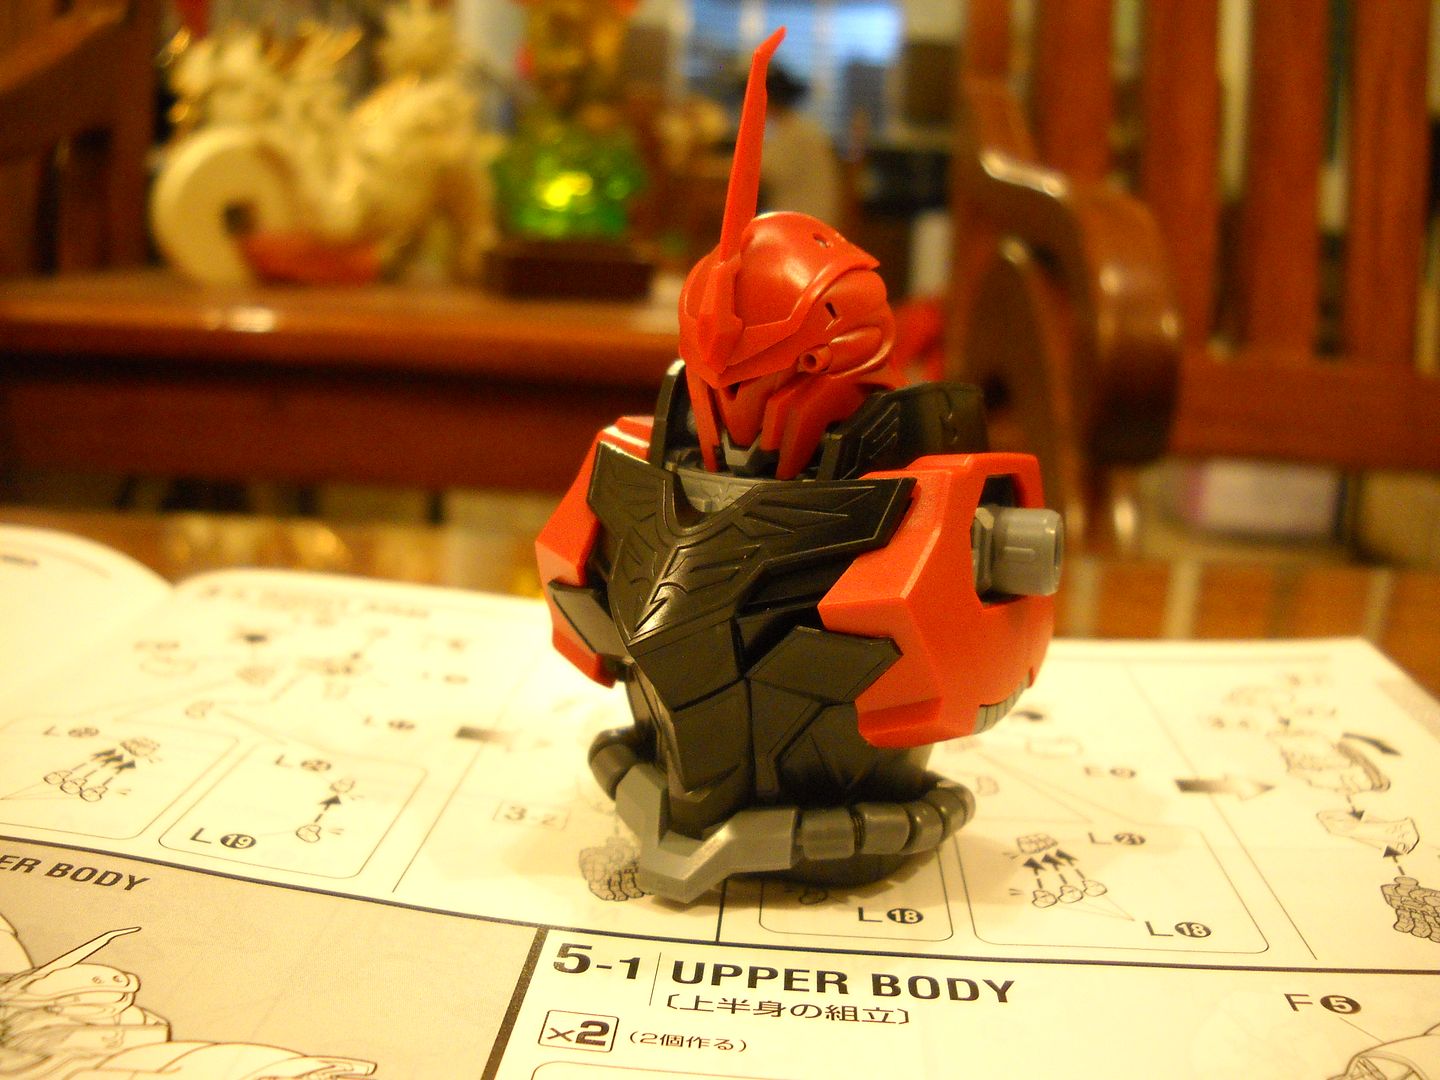
fully assembled torso and head.
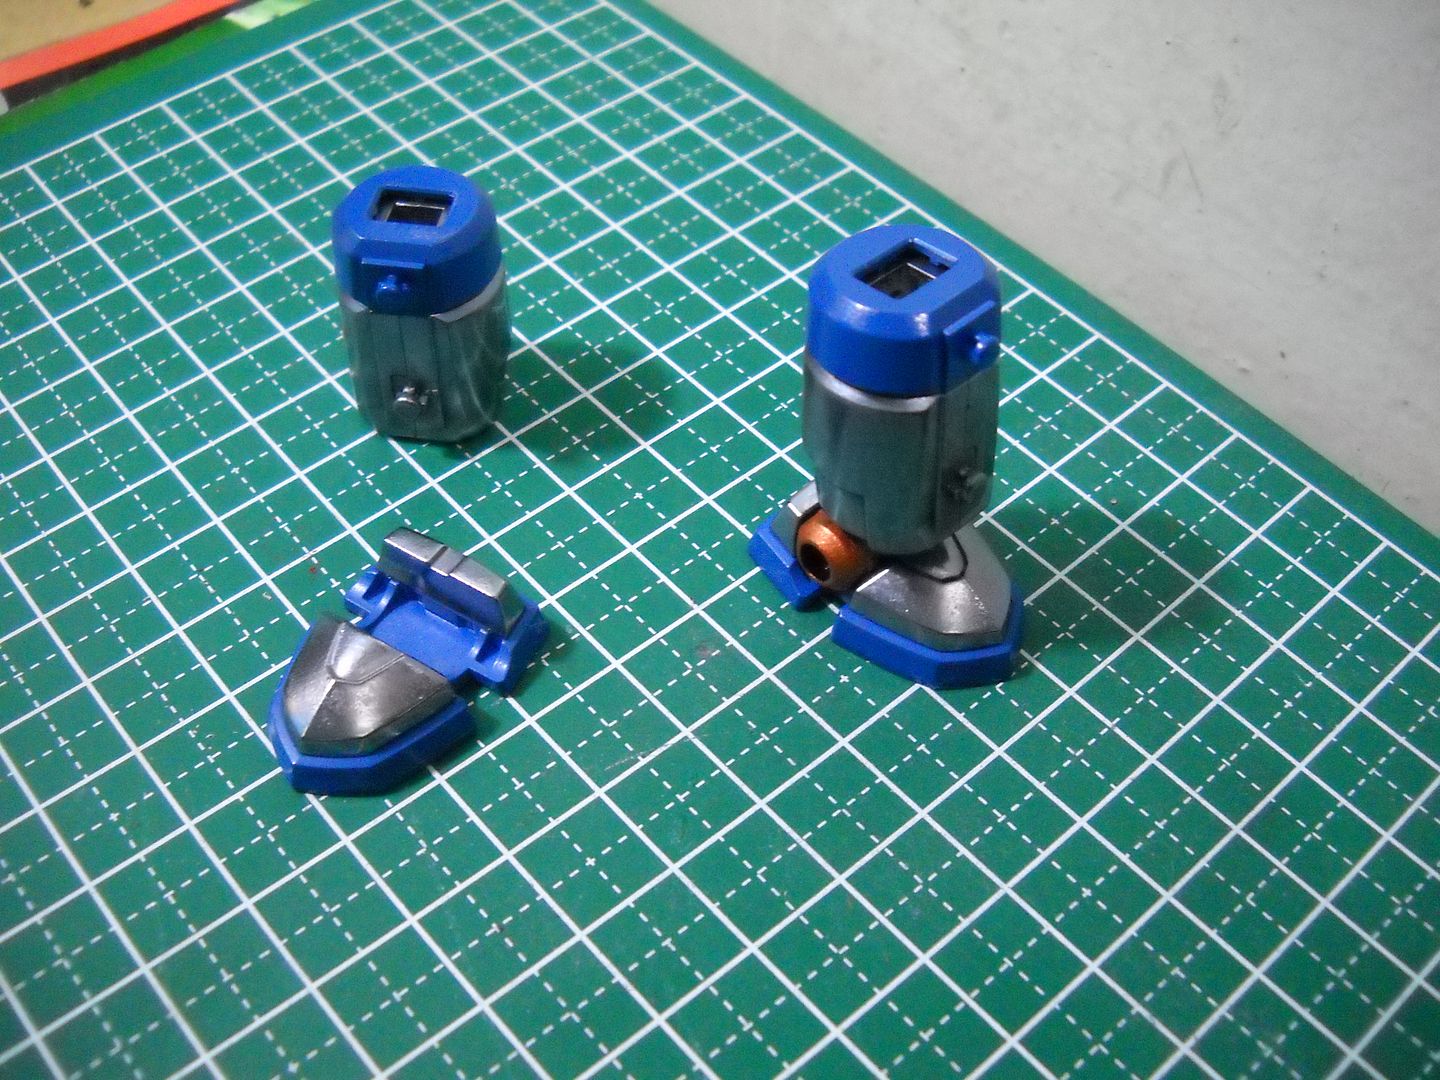
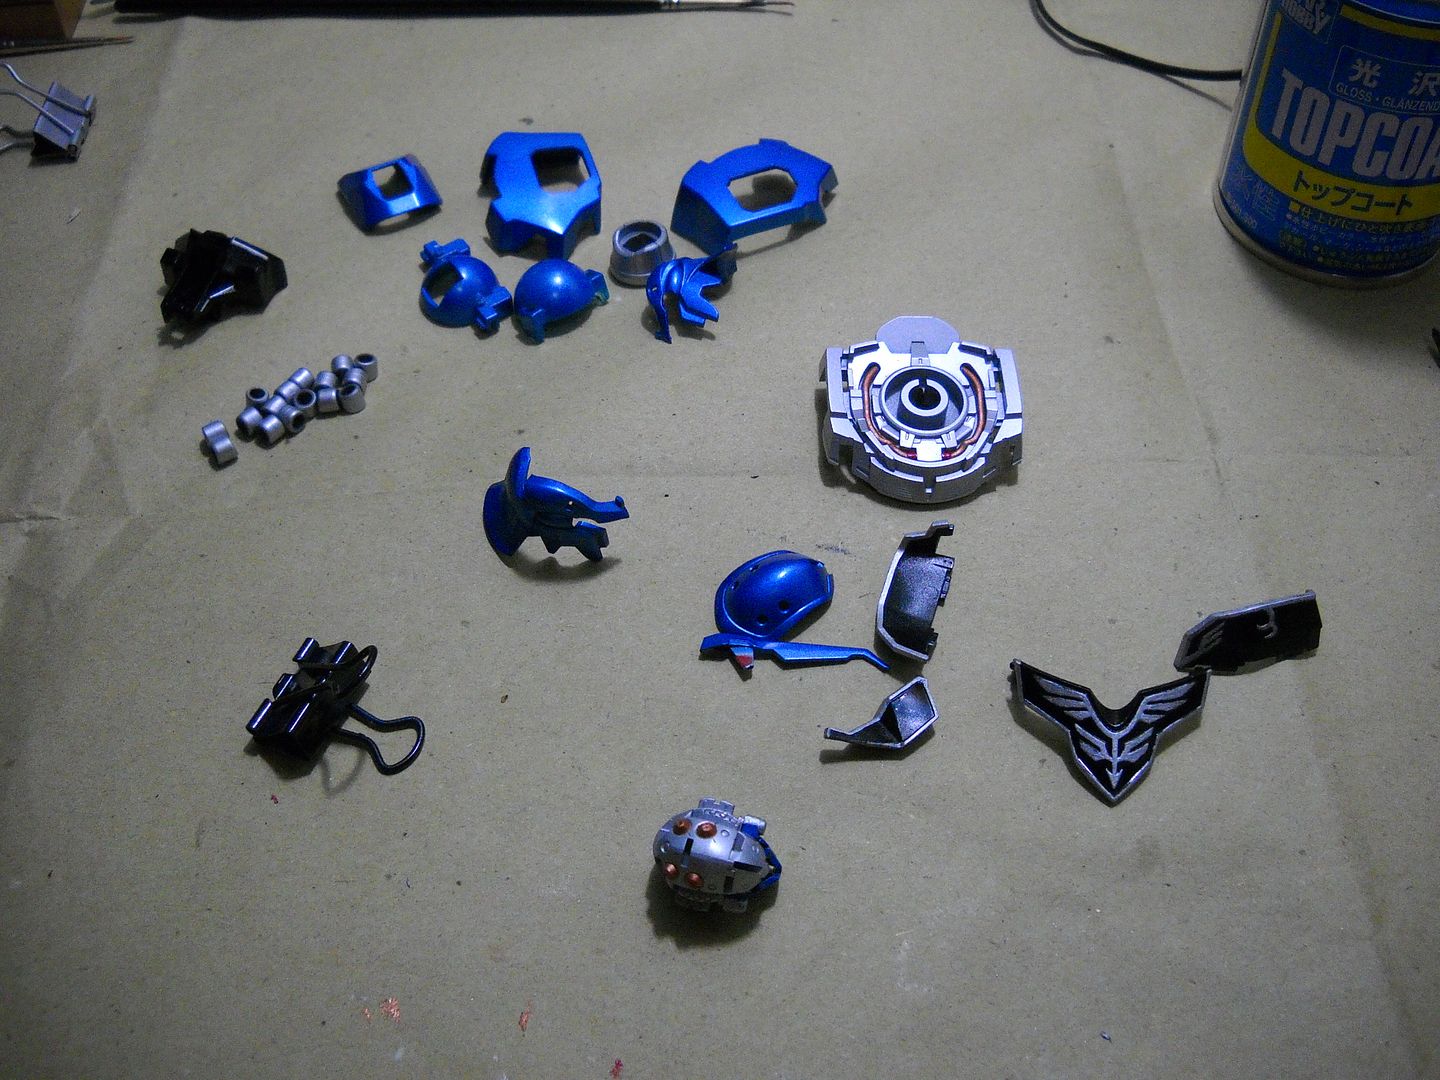
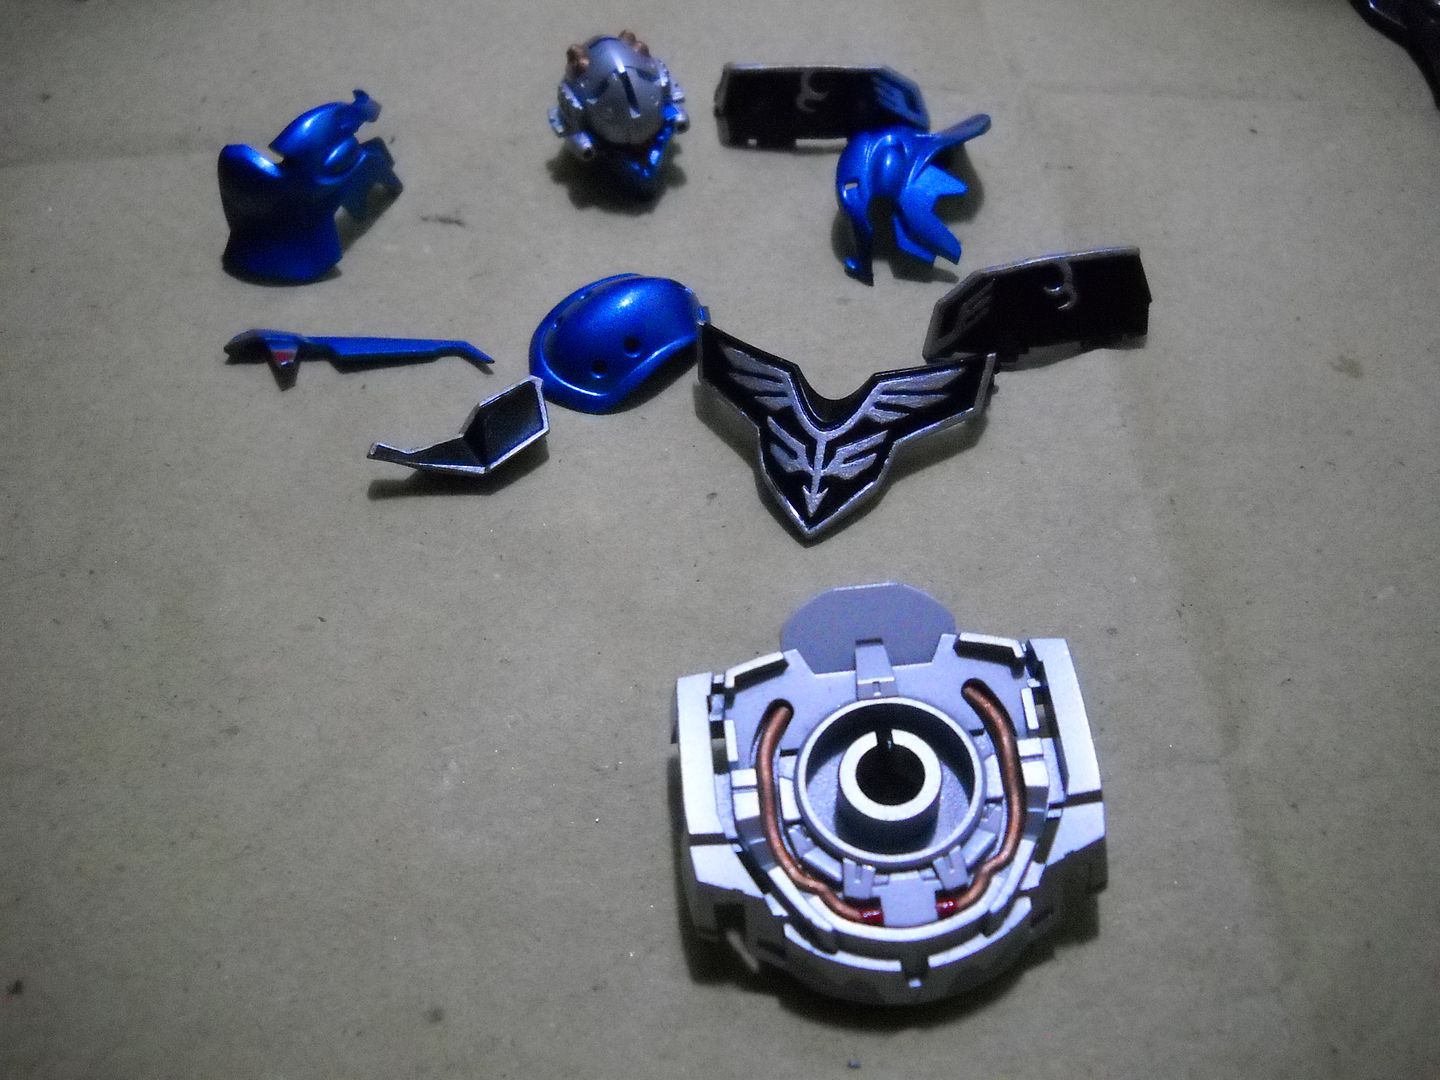
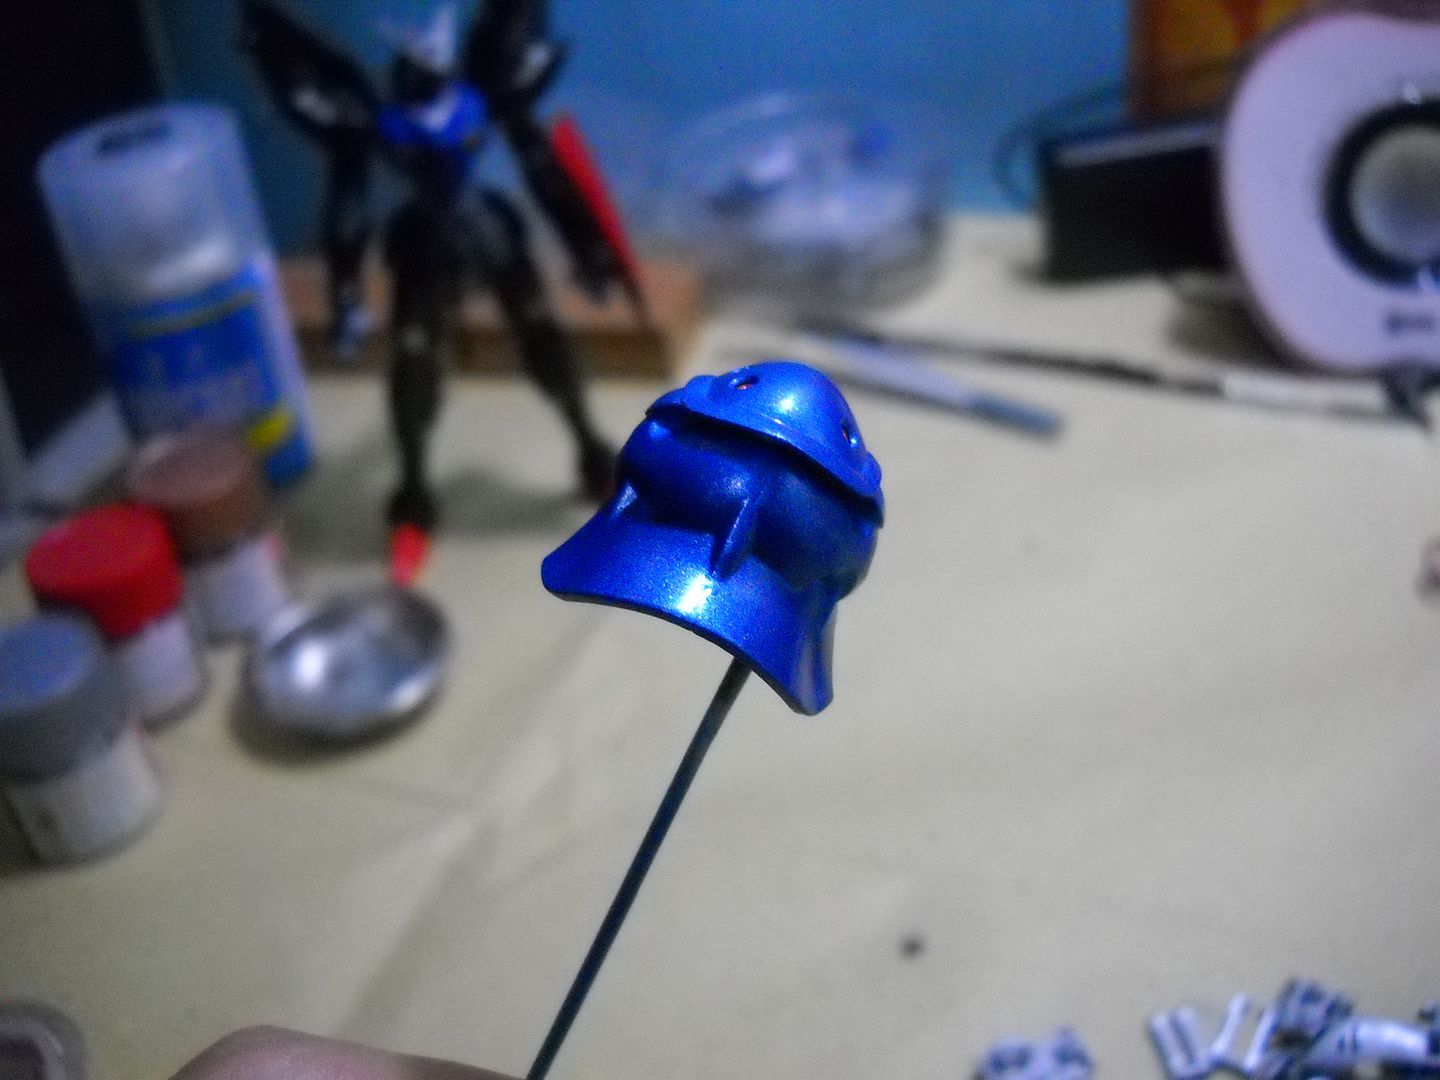
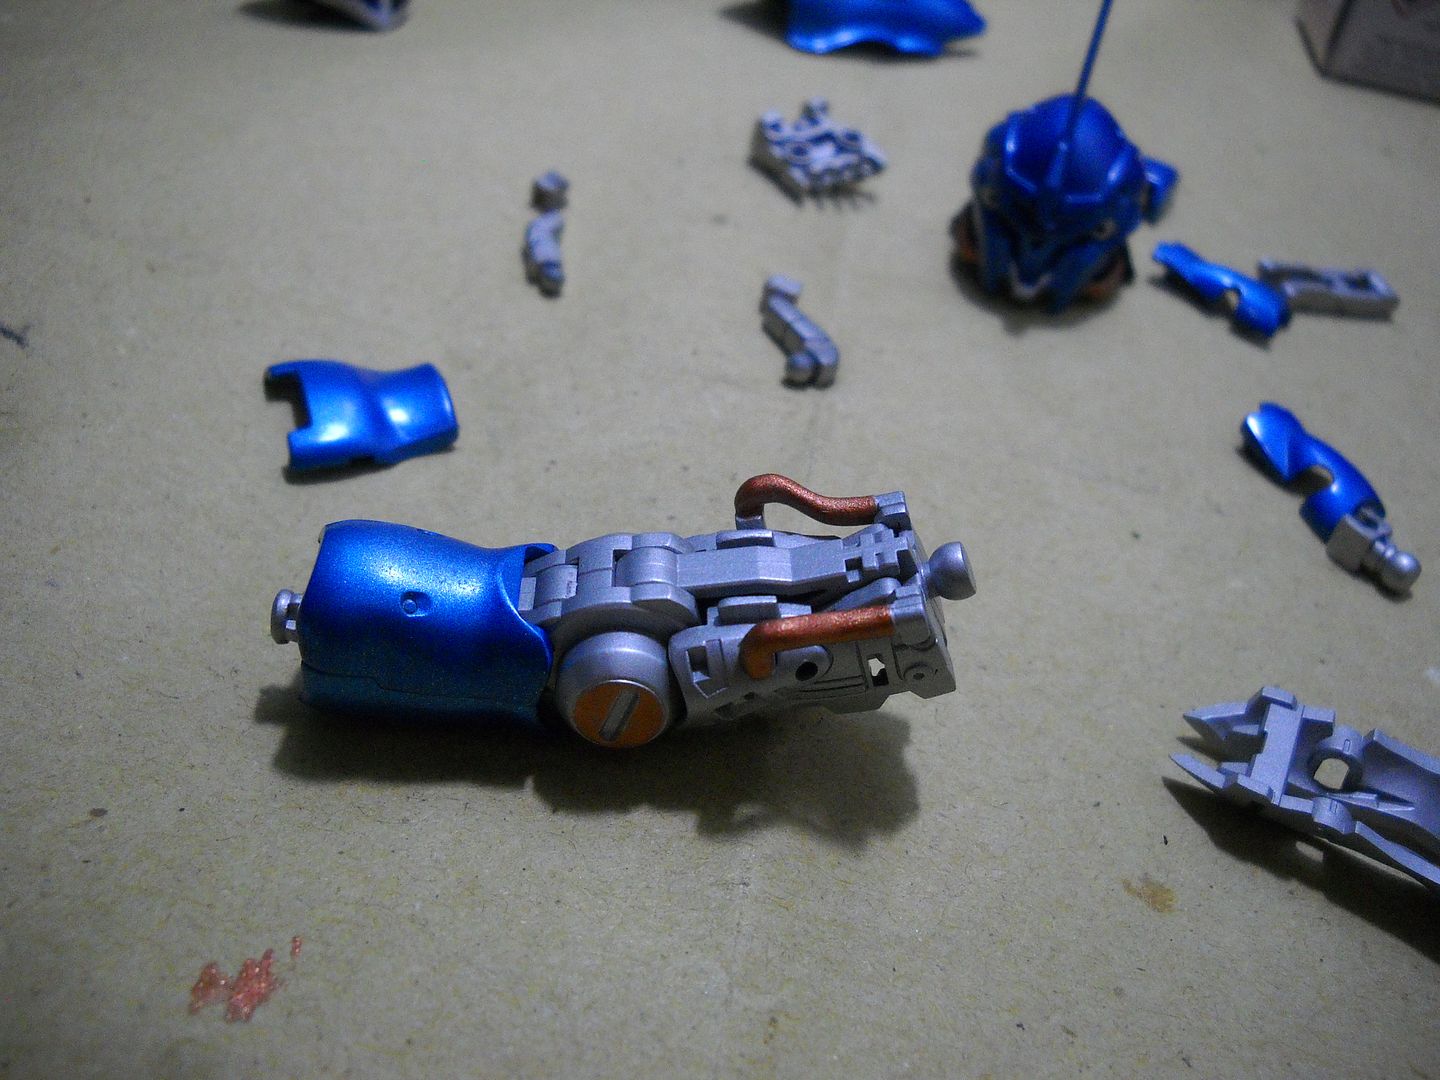
I'm now working on the right arm, a little minor touch ups before proceeding on to the left arm and both its shoulders. done the same way: assemble, disassemble, prime, silver under coat, metallic blue over coat, minor details, gloss top coat.
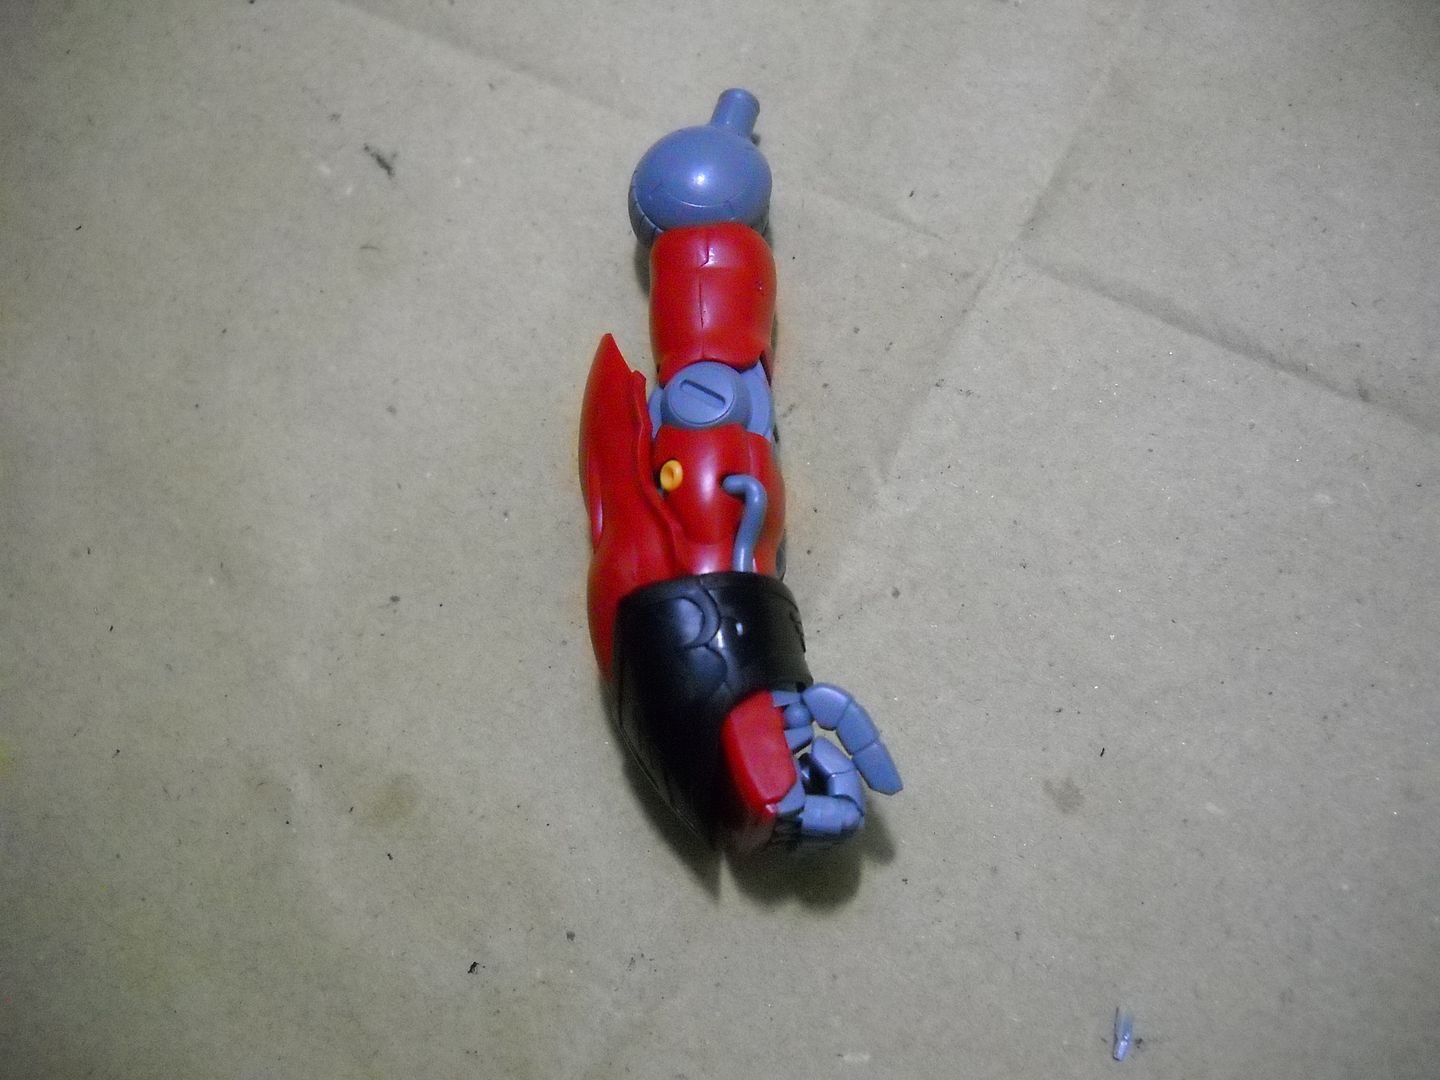
painted all pieces.
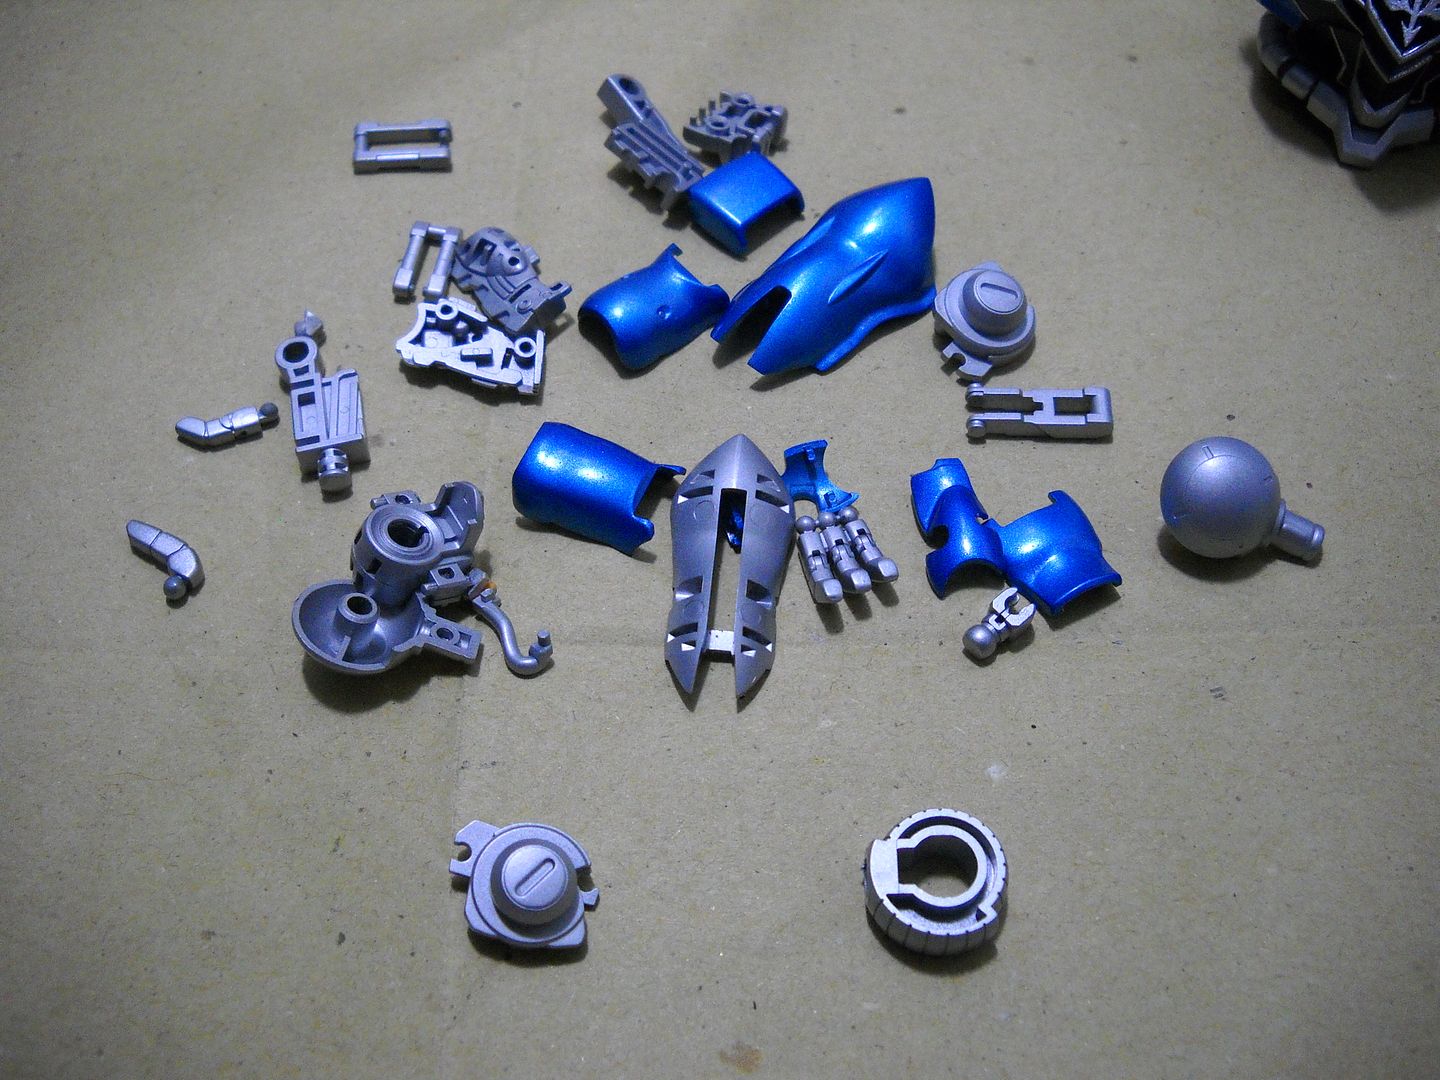
detailing.
comments and suggestions are welcome.
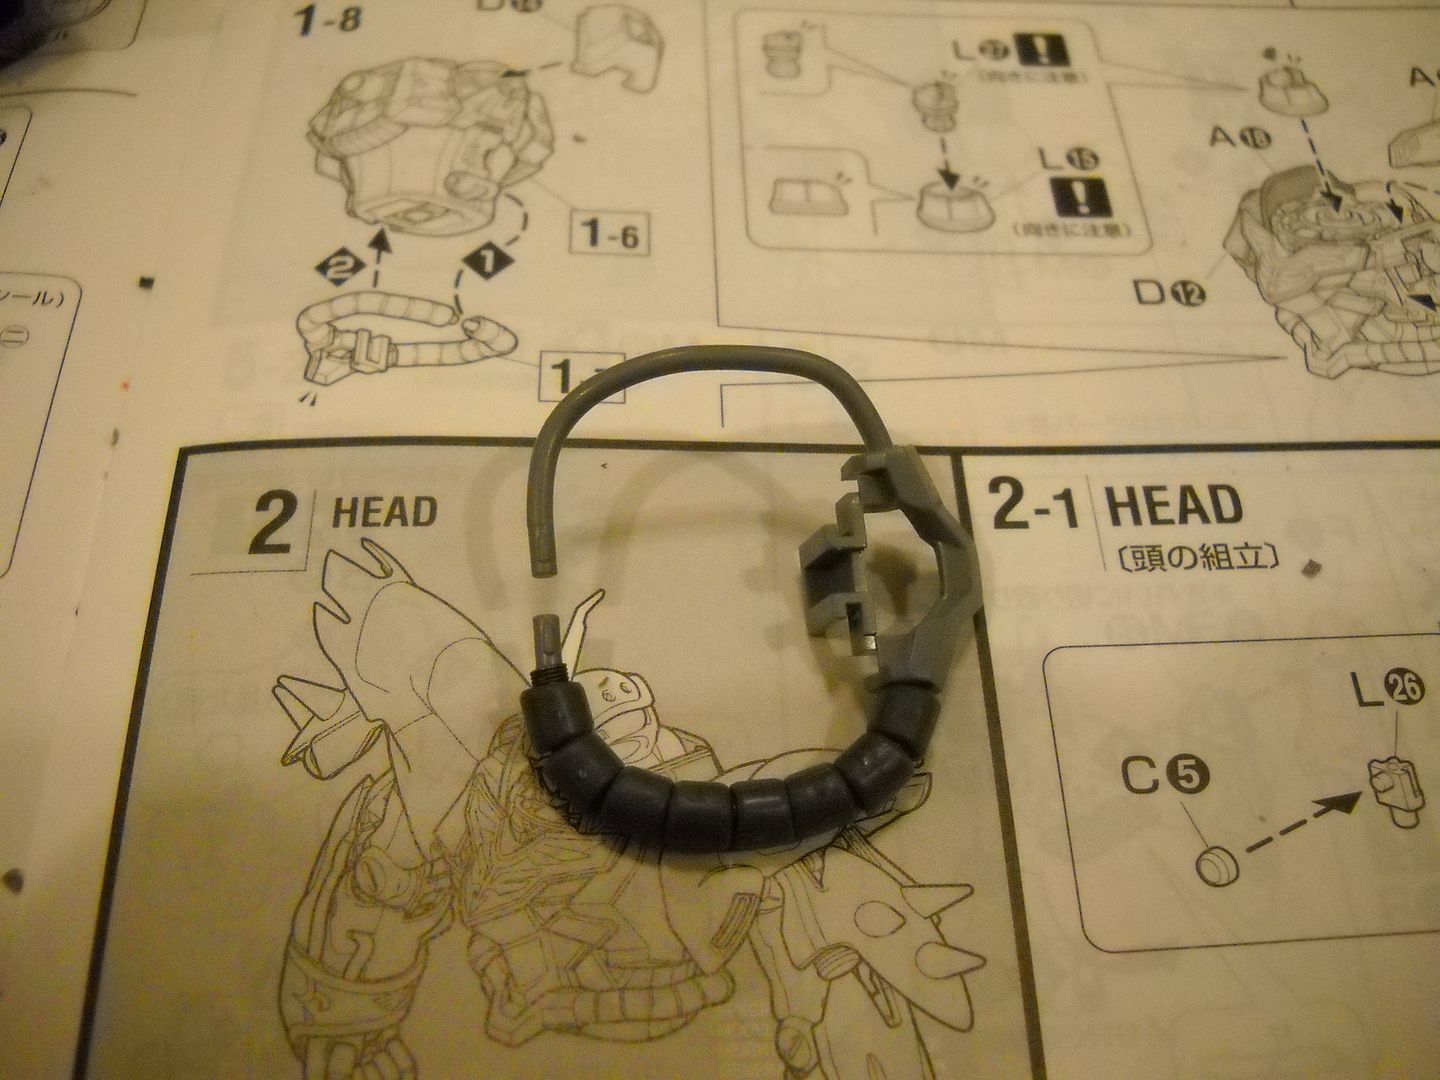
hey guys, i recently picked up my entry for a contest i'm going to be joining this may, its the MG Sinanju ver.Ka. yay! :D this kit is quite big, around the size of an MG Unicorn.


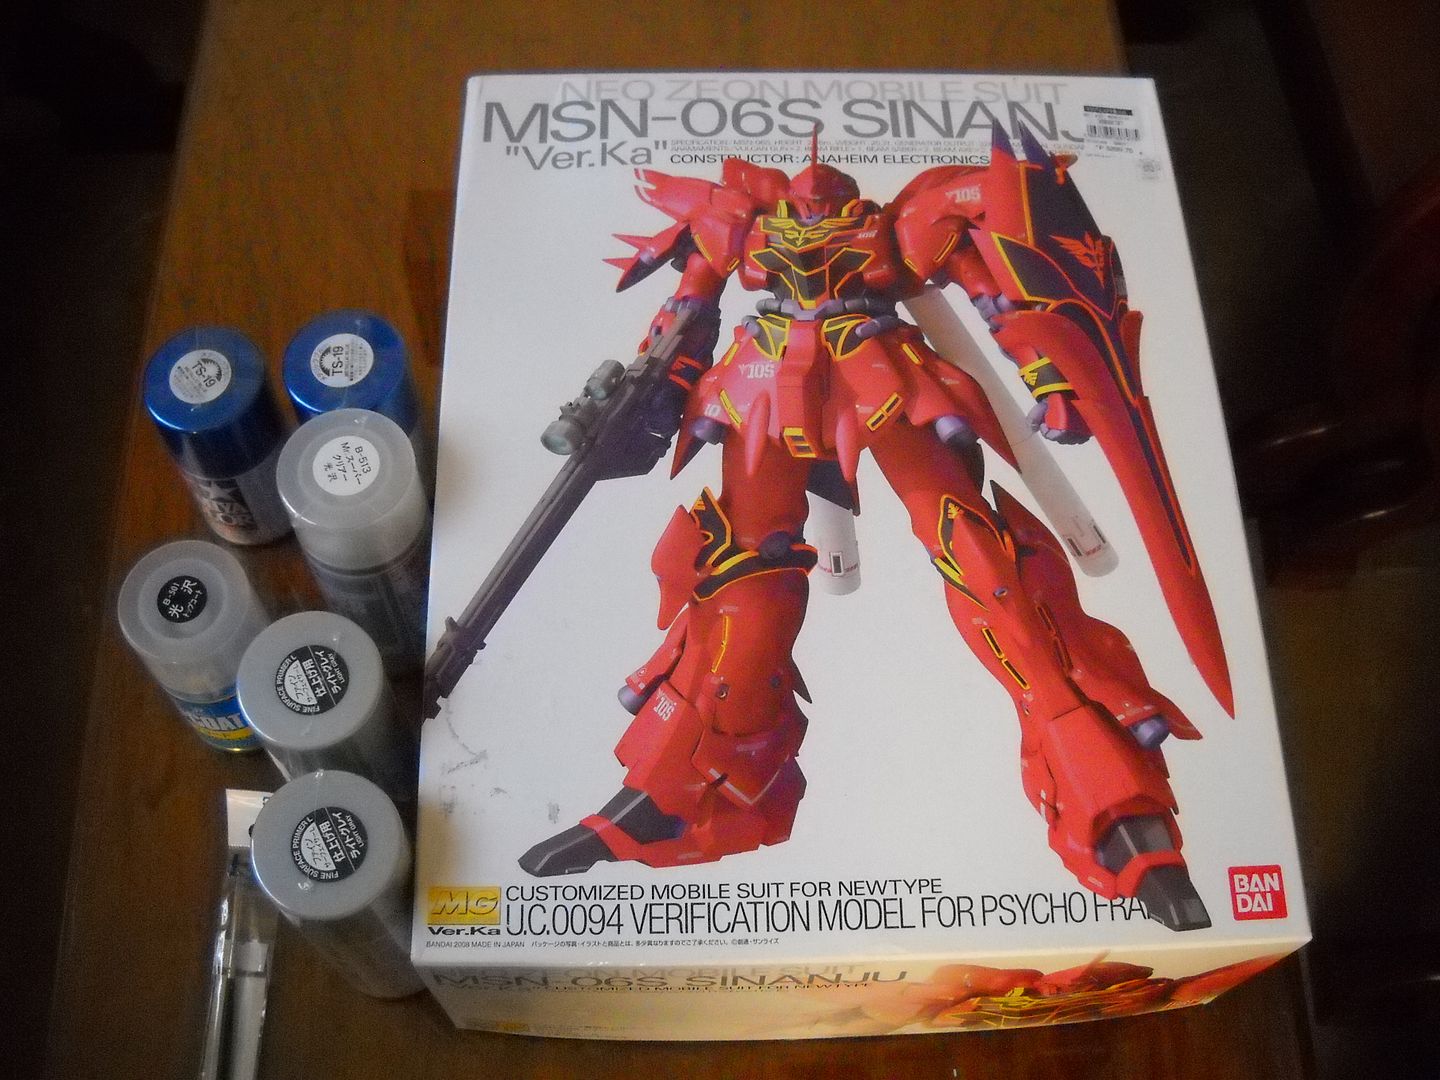
its a really great kit, well detailed inner frame and details are well done. when i first saw this kit, my first impression wasn't so good, but i found out its a great kit anyway. and looks really good with metallic colors.
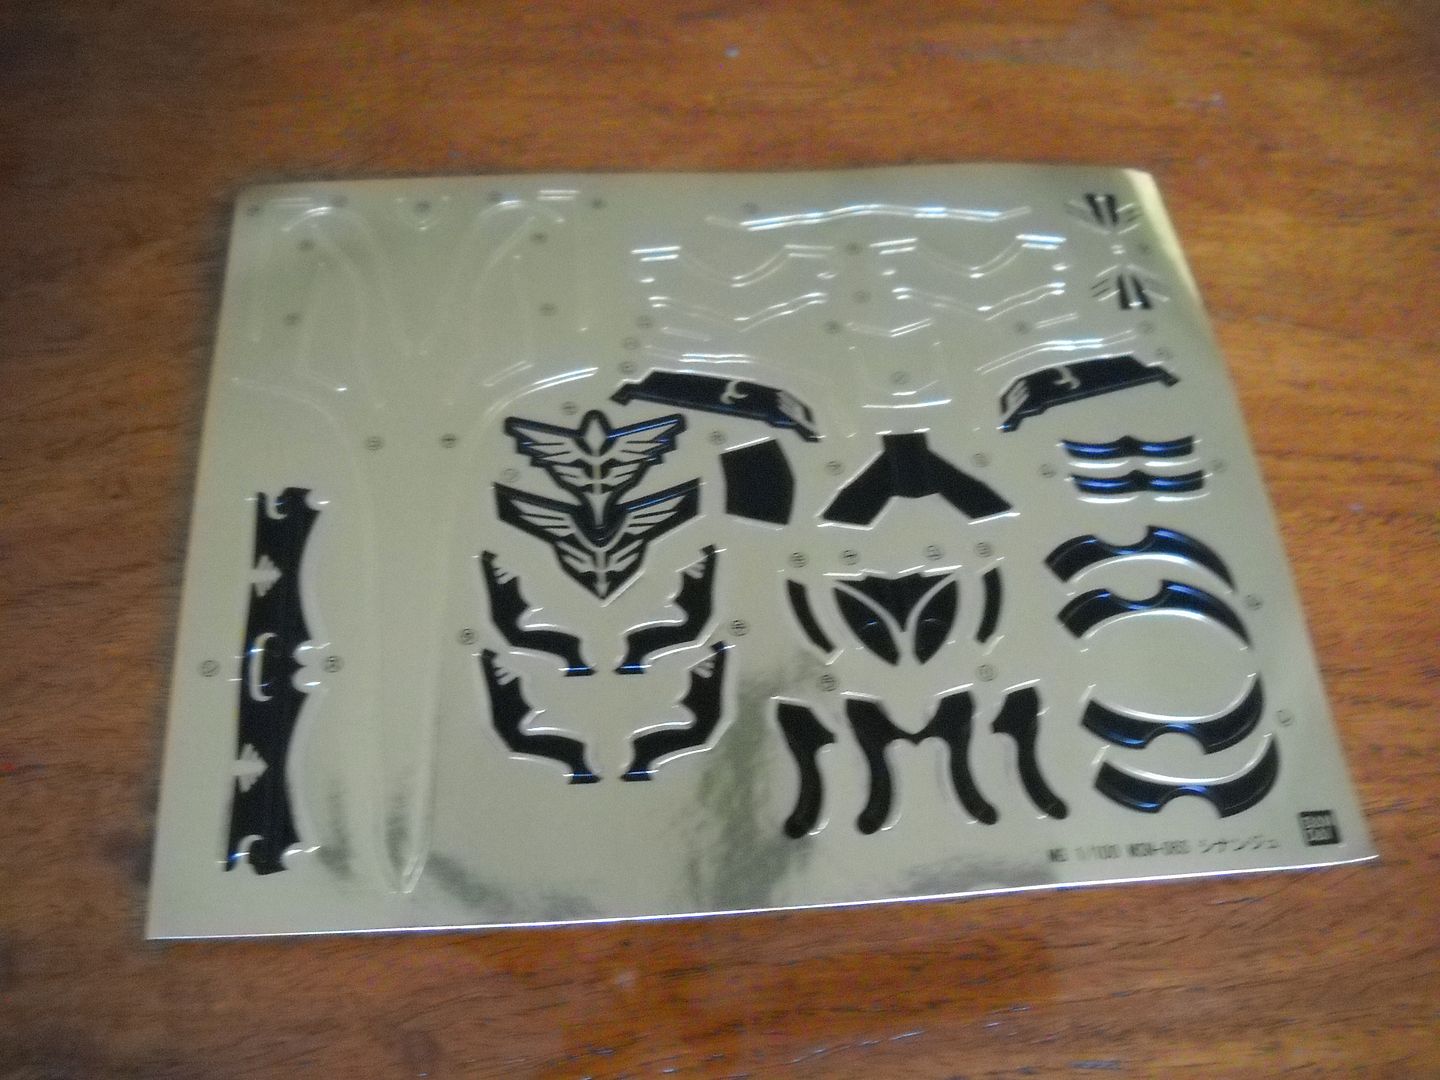
but it annoyingly comes with a lot of foil stickers. :(
i snapped together the torso and the head, and finished priming it too.
working on a metallic blue and silver color scheme, and i'll be adding extra waterside decals here and there. I'm going to be doing a silver under coat before stopping it with metallic blue to add an extra metal like effect.
i'll make other posts as i make this project, keep building guys!
thank you readers for passing by this post. don't worry this won't take much of your time... so why wash parts? washing your parts is an important procedure when building gunpla, because it helps your paint and primer stick to the plastic. washing your parts removes the leftover grease from the plastic when it was molded, this is very important especially if your doing a resin kit.
materials:
> dish washing liquid
> basin
> small towel
> alcohol/degreaser
this won't be a hard thing to do, and almost any beginner gundam modeler could do this.

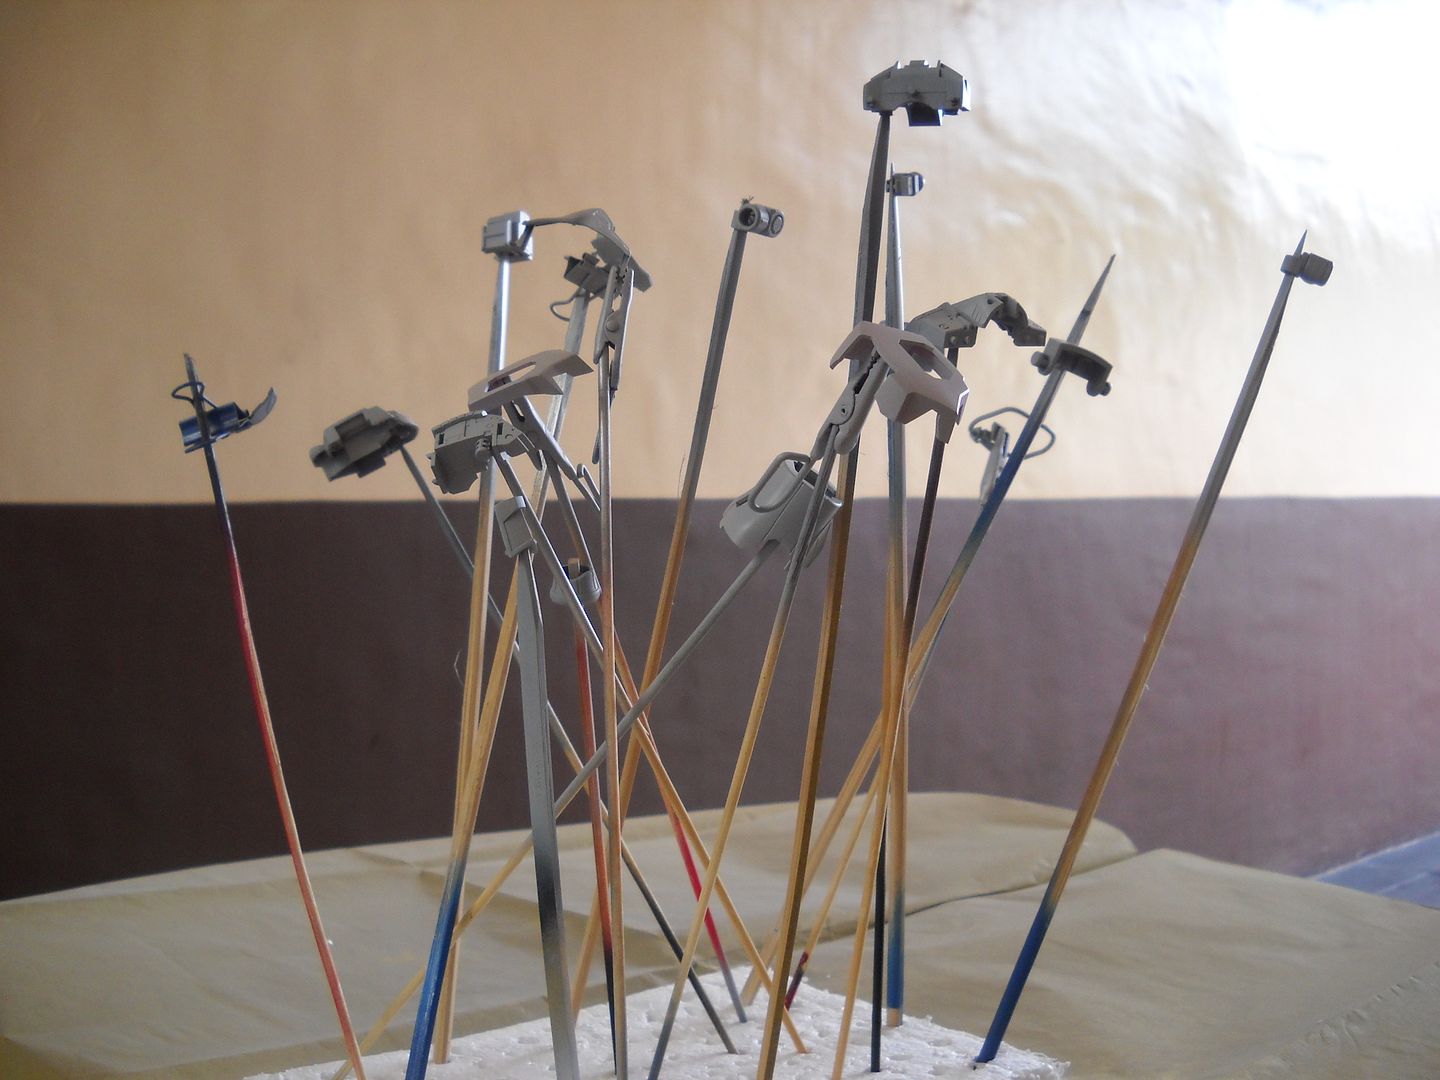
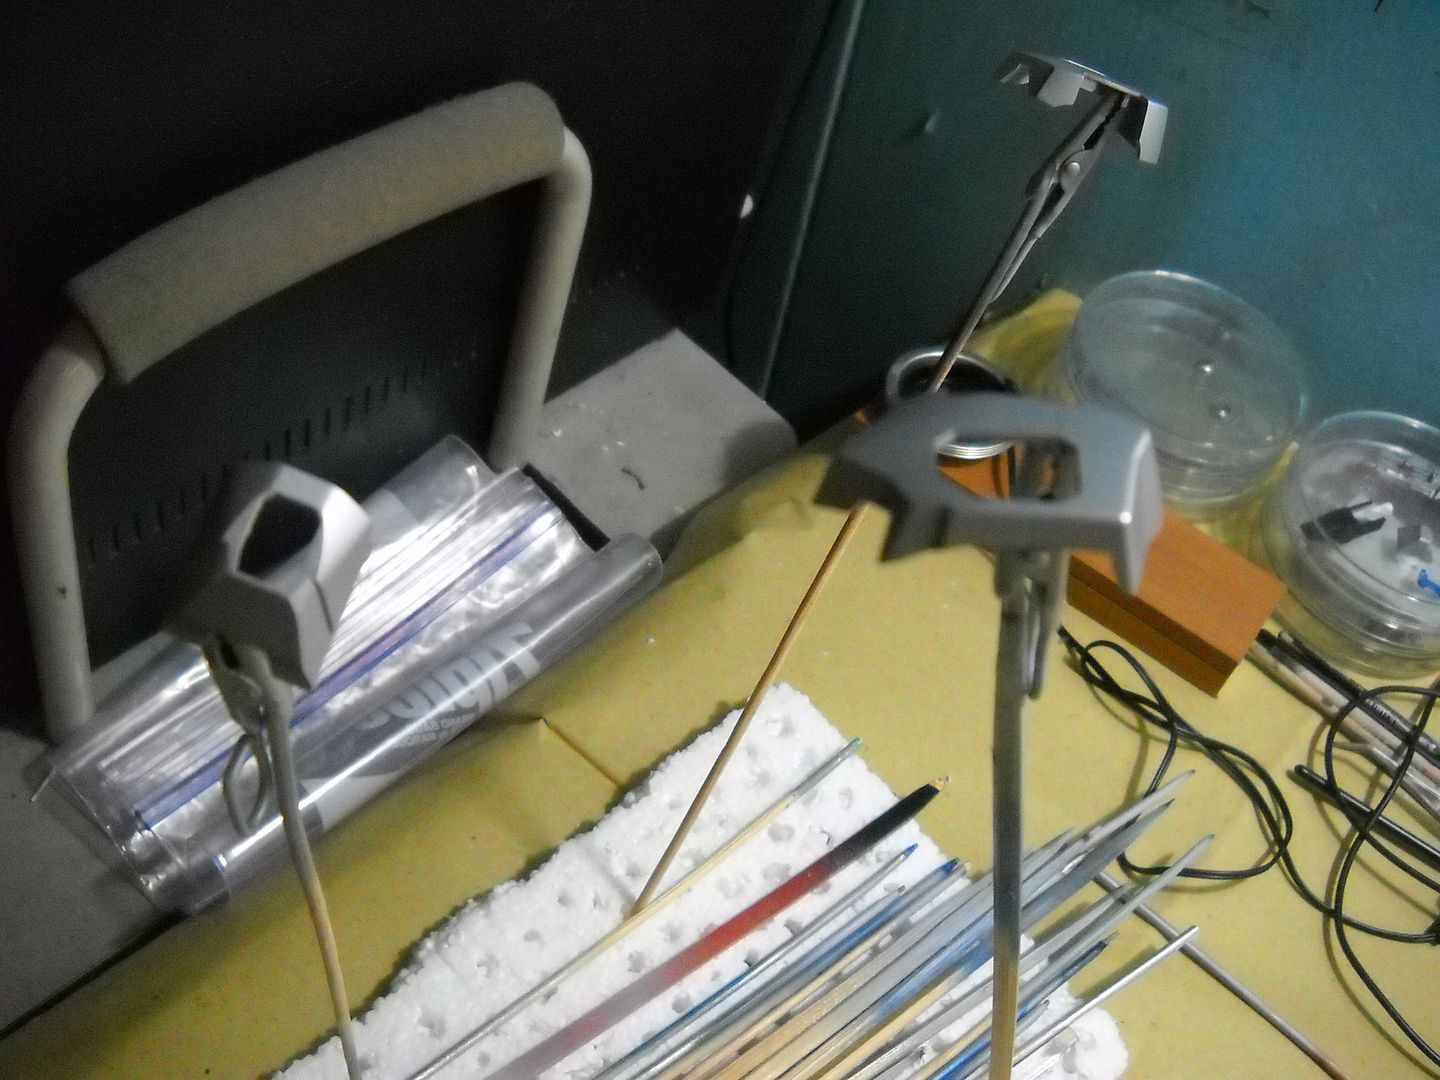
cut all the pieces off the runner.

place all the parts in a specific ziplock.

label. just to make sure you don't mix up all the parts.

wash your parts in a basin with warm soapy water. just mix dish washing liquid with the water and mix. let it soak for 10 minutes or more. once done rinse parts in clean water till no suds are left. repeat process to all zip locks.

leave to dry on a piece of cloth.
once thats done, it has to pass through a second cleaning.

fill a small container with alcohol or degreaser. and dip the piece once and leave it to dry. reapeat to all parts.

return to its specific bags and proceed to assembling.