panel wash with tamiya's panel line accent color
April 10, 2014
In this tutorial i would be doing panel washes using tamiya's panel line accent color. Instead of creating your own wash, tamiya has made a pre mixed enamel paint ready to use anytime for panel washes.
So to begin, start by giving a nice thin gloss coat on the surface of your kit. It doesn't certainly have to be coated depending on your base coat, because a matte finish tends to absorb the wash instead of allowing it to flow through the lines. This is to protect the lower layers of paint just incase something goes wrong with the procedure.
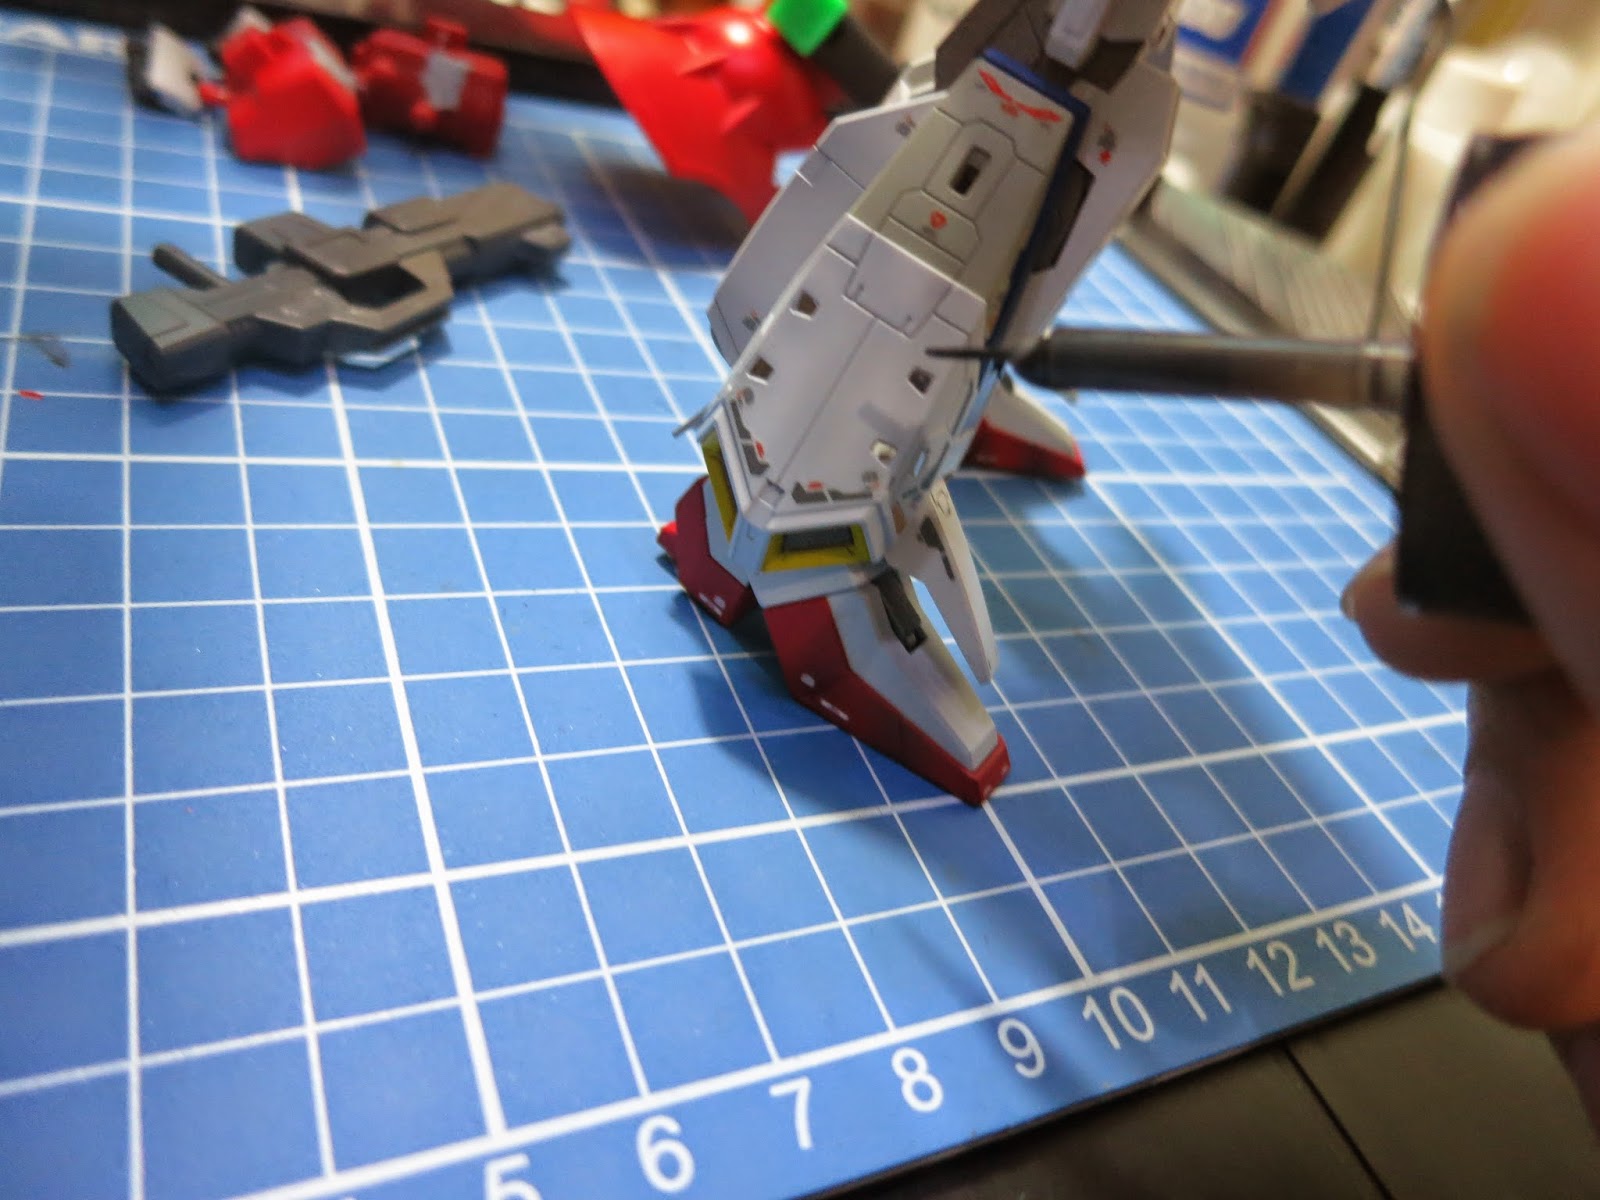
Today we'll be working on the RG Zeta's leg, and as you can see there is a decent amount of panel lines as well.
First, I like to give the bottle a shake beforehand, just to properly mix the pigment inside. Also, the cap of tamiya's product comes with a fine point brush for applying the wash. (yay) Start tapping the point of the brush on the corner or edge of each panel line. Once the brush makes contact with the surface, let gravity do its job and watch as the paint flows thru the panel lines.
You wouldn't expect the wash to get the job done just like that, sometimes you will have to reapply on multiple areas to get the wash to go through all the panel lines. But doing this will tend to make thing a little dirty and as you can see, there are over spills on some areas of the panel lines, these are the areas where i dabbed the brush on to get the liquid in the model.
Don't worry, i'll be showing you how to clean up your model in the next step, but let it dry first before proceeding.
The solution is enamel based and can be removed with lighter fluid, or enamel thinner.
I prefer using lighter fluid since it's cheaper and it gets the job done anyway. Drip a small amount on a qtip and wipe away!
Carefully wipe of the excess wash without applying too much pressure on the qtip so that you wouldn't risk stripping the paint underneath.
This doesn't only work on panel lines but also on edges and raised areas to give your model a worn or shaded look. There are many effects you can try out with Tamiya's panel wash that you can find out for yourself, but for me this makes panel lining a whole lot quicker than using any gundam marker.
Till next time!


10 comments
So I should top coat before applying the wash? I painted a kit using tamiya acrylic paints and I'm debating on getting this for panel lining. I'm afraid it might damage the paint or something.
ReplyDeleteThe wash is enamel based so yes enamel thinner may be able to wash out acrylics. So a gloss top coat would be advisable, but the safest base coat would be lacquer when using this product.
DeleteMust it be gloss? Is it alright to use a flat coat?
DeleteThe thing about flat is that it also adds texture to the surface so that prevents the wash from spreading. You can do a flat AFTER the wash is applied.
Deletei have a question, can we use a cotton bud with water to clear the spills after applying the panel line ? and what do you suggest for a newbie in gunpla building like me panel lining using a gundam marker or using tamiya accent ? thanks for answers.
ReplyDeleteFor this product, since it's enamel based.. Water may not be effective once the paint has dried on the surface. But even if it's wet theres a possibility that wiping it with water will just smear it. I suggest using an acrylic based wash if you wish to use water. I may create a tutorial regarding this if you need it. I started with gundam markers to be honest, and it's simple and easy but panel washes make a bigger impact so why not give it a shot?
DeleteIs it ok to use tamiya accent on an unpainted, uncoated kit? I just wanted a panel-lined kit and decals before using topcoat.
ReplyDeleteYes. Just make sure that it has properly cured before proceeding to other steps
DeleteHey nice looking zeta. I just have some questions, where did you buy your fuji lighter fluid? Also the comments are somewhat hidden or is just on my browser?
ReplyDeleteAny type of lighter fluid should work just fine
Delete