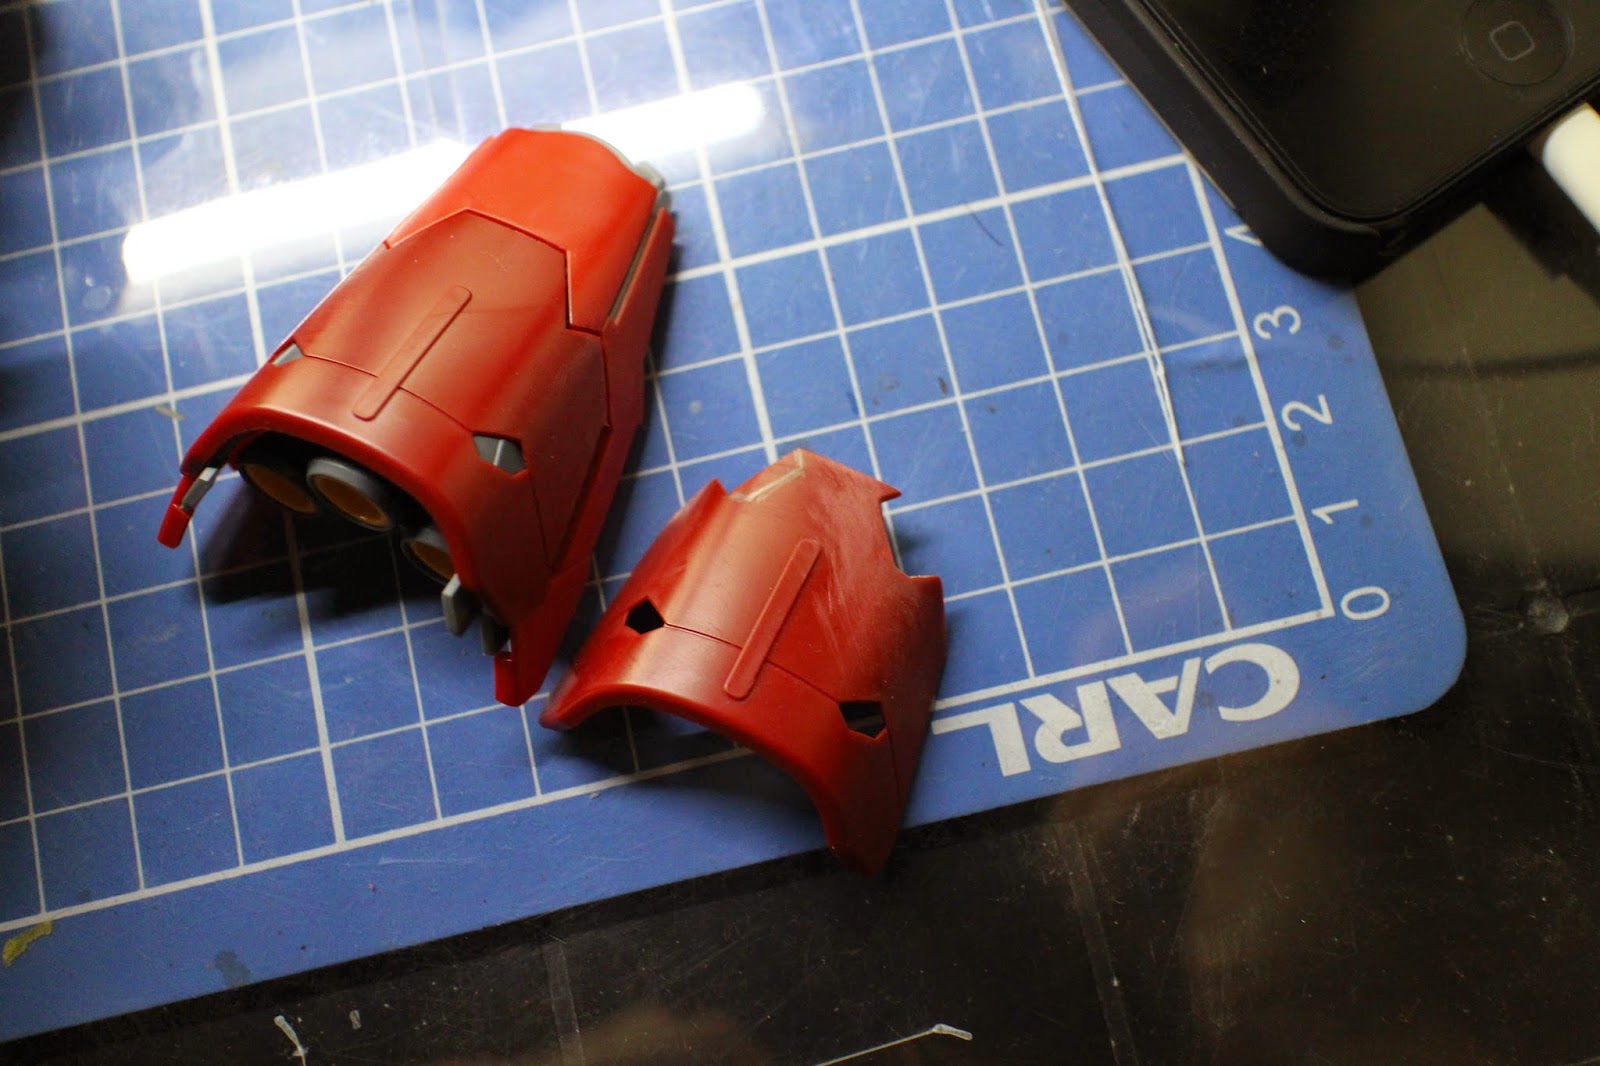
there are many cheap ways to add more detail to your kits, and one of these are using sewing pins as rivets to give it metal add ons.
materials:
-pinvise
-sewing pins
as i said, it was a cheap alternative for metal parts. i was able to purchase 600 pcs for around 2 dollars.
to get the result above you're going to need different sized drill bits and a pin vise.
i start by drilling a hole in a specified area with the smallest drill bit i have.
this hole should fit the pin perfectly.
for the next step, you are going to need a bit as big as the head of the sewing pins you will be using.
drill the surface ONLY. do not drill through the piece, you only need to graze the surface for the pin head to fit .
test the fit like so.
i used super glue but regular liquid glue should be able to hold. apply on body of the pin.
carefully slide it back into the drilled area. keep there till the glue dries. them nip of the rest with pliers.
and thats all you need, to detail up your kits with this cheap alternative.
till next time!
as promised, i will keep on updating as i progress on this build. and as of now, i have enough progress to show for my second update! (yay) i continued modding the upper torso, adding more to the ones I've done before. and well.. its going quite great.
i have been using ball pen tips as makeshift metal parts, and they really do come in handy.
i failed scribing the panel line and chose to back out
destiny's effect part re drilled and fitted

primed
and thats all for this update, sorry for little description on whats happening.
i hope the pictures can suffice.
till next time!
if you back track my posts to last year, you will find this project over in the earlier months. this build died the moment i failed an oil wash/filter (it looked really bad) a few days ago, i needed to test out a gloss coat for a current project and i just happen to bump into this guy once again! turns out the filter cured nicely after all those months and well, pushed me to work on it again. added decals, changed a few colors and touched up the details. the gloss coat came after.
after my first post on this, i wasn't able to update regarding my progress on this build. But anyway, i have finished assembling the whole kit. finished the weapons a few days ago. and was able to display him with the "big boys".
a few hours later, i decided to start prepping it for painting, that includes sanding, modding etc.
and to properly start my update: the whole kit is pretty huge and honestly, not much to fix besides flashes and a seam line. seriously, i have only spotted one seam line throughout the whole kit.
i chose to get rid of it immediately. did the regular way to remove seam lines, though there are some that weren't fully annihilated… some puttying and its good as gone.
the other seam lines were well covered by other parts such as this. (theres one under there)
my original plan was to simply change the color scheme of the kit, but my crazy side got the best of me…again. so besides those, i also worked some armor trimming on some parts. planning to use the technique throughout the whole model. drilled in some rivets and did some pal plating with clear plates… reasons unknown. (i ran out of white) and scribed in a few panel lines as well.
comments and suggestions are greatly appreciated. if you have any, feel free to drop one off. :)
i have done more mods on those parts above but wasn't able to document it. it will probably be seen on my next update. till next time!


